CMDB Assistant
Overview
The CMDB Assistant streamlines server-to-application mapping using bulk uploads, AI-powered suggestions and user-driven search to quickly identify and manage workloads—even with incomplete data. This tool provides two main approaches to inventory management through a tabbed interface.
This guide will walk you through the two main approaches to inventory mapping:
Adaptive Mapping Workflow
- Start with Auto-Map – Use AI-powered Auto-Map to get an initial view based on observed patterns and known workloads.
- Enrich with bulk upload – Import CMDB data to enhance mappings and fill gaps.
- Re-run Auto-Map – Let the AI learn from new input and refine its groupings.
- Refine manually – Use manual mapping throughout to resolve edge cases and adjust groups based on new context.
This workflow supports a fast start while ensuring flexibility as you move from assessment to design and execution. Server assignments, app groupings and firewall relationships all update in real time as your mapping improves.
Auto-Map Tab
The Auto-Map tab uses AI-powered analysis to automatically suggest mappings between discovered servers and applications. This feature is ideal for situations where you want a quick, intelligent mapping based on your environment’s current data.
AI Assistant Overview
When you access the Auto-Map tab, the system will display:
AI-Powered Mapping Process
Access Auto-Map
From the CMDB Assistant dashboard, select the Auto-Map tab.
AI Analysis and Mapping
The system automatically analyzes your infrastructure and begins mapping servers to relevant applications based on discovered workloads. The results will display:
- Number of Application Workloads discovered
- Number of Servers Mapped to an application
- Data collection health status
Review Auto-Map Results
The results show a breakdown of applications categorized into logical groups:
Application Categories:
- IT Tools: Active Directory, DNS, Dynatrace, File Server, NetBackup, PowerBI Data Gateway, Splunk
- Security & Compliance: Active Directory Certificate Services, Check Point Identity Awareness, CyberArk solutions, McAfee ePolicy Orchestrator, NetIQ Identity Manager, SolarWinds, VMware Carbon Black
- Modern Workplace: Microsoft Exchange
- Line of Business: ArcGIS, Grafana, Hyland OnBase
- Other Applications: Potential applications requiring review (e.g., Potential_App_126, Potential_App_048)
Understanding Status Icons
Understanding Auto-Map Icons:
- Purple Lightning Bolt: Included in Auto-Map - These applications and servers are successfully mapped
- Grey Crossed-Out Icon: Excluded from Auto-Map - These items are not included in the current mapping
- Blue Lightning Bolt: Newly Discovered - Recently identified applications or servers
- Grey Information Icon: Potential applications requiring attention and review
Auto-Map will never automatically overwrite existing application mappings without your specific permission.
Additional Options
After reviewing the results, you can:
- Undo Auto-Map Mappings: Revert the current mapping if needed
- Refresh Auto-Map Candidates: Rerun the auto-mapping with new data
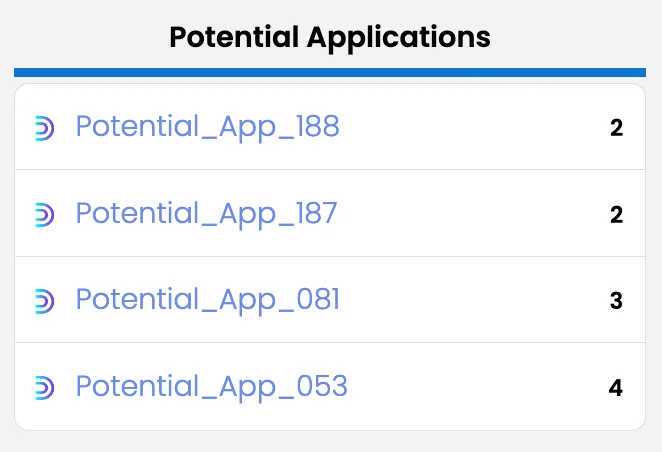
- Refresh Potential Applications: Review any suggested application workloads that were flagged for review
Unlock Advanced Insights
Once mappings are complete, advanced reporting may be unlocked. Click View Insights to access in-depth analysis of your mappings and workloads.
Bulk Upload Existing Inventory Tab
The Bulk Upload Existing Inventory tab allows you to upload your existing CMDB data and map servers to application workloads in bulk. This method is recommended if you have a comprehensive set of data readily available and want to map multiple servers at once.
Bulk Upload Process
Access Bulk Upload
Go to the CMDB Assistant dashboard and select the Bulk Upload Existing Inventory tab.
Download Pre-Filled Template
Click Download Pre-Filled Template to obtain a bulk upload template that includes:
- All discovered servers with current mappings
- Operating system information
- VM descriptions
- SQL detection status
- Additional server context
Complete the Template
Fill in the template with the necessary mapping information based on your CMDB data. The template is pre-populated with discovered information to make the process easier.
Upload Your Completed Template
After completing the template, upload it via one of the following options:
Option A - Upload Direct to Storage Account:
- Use this option if you have contributor access to the storage account
- Copy the provided link and paste it into your desktop’s local browser
- Upload the template to the Azure Storage account
- Wait 30 seconds, then click “Check for File” to detect the upload
- Click “Load into Dr Migrate” to process the template
Option B - Upload via Secure Link:
- Use this option if you don’t have contributor access to the storage account
- Provide a file link (e.g., OneDrive or existing storage account download link)
- Click “Load into Dr Migrate” to process the template
Template Processing
Once uploaded, Dr Migrate will automatically:
- Update all associated application mappings
- Handle any application name changes with remapping prompts
- Process the data for immediate use
Verify Results
After processing, check the Application Manager page to see the results. Note that the Digital Report (PowerBI) will take approximately 15 minutes to update.
File Management
The Bulk Upload interface tracks all uploaded files with:
- Upload Date and Time: When the file was uploaded
- File Name: Name of the uploaded template
- Load Action: “Load into Dr Migrate” button for each file
Potential Application Review
After running the Auto-Map process, you may need to review potential applications suggested by the AI engine. This section explains how to validate and complete server mappings through the Potential Application Review functionality.
Accessing Potential Application Review
When reviewing a potential application (e.g., Potential_App_110), you will be presented with several key details that assist in identifying and validating server mappings.
View Potential Applications
Select the potential application you’d like to view to examine its details and proceed with mapping.
Review and manage potential application mappings
Select Mapping Tab
Select the ‘Map Servers’ tab on the left-hand side.
AI Analysis
The AI Analysis tab provides an overview of the AI engine’s confidence in the server mappings related to the potential application. Here’s what to review:
Key metrics to consider:
- Number of Servers: Displays how many servers the AI engine suggests are associated with the application
- Overall Confidence: A percentage score indicating the AI’s confidence in the proposed mapping
Key Indicators:
- Description Similarity: Measures how similar the server descriptions are to known descriptions of the application
- Software Similarity: Compares installed software on the servers
- Network Communication: Shows the level of network communication between the servers
- Server Name Similarity: Evaluates the similarity in naming conventions for the servers related to the application
Use these metrics to validate or question the suggested mappings before proceeding to the Server Details tab.
Server Details
The Server Details tab provides a deeper analysis of server-to-server communication and allows you to visualize relationships between servers.
Network Information:
- Purple dots: Servers already mapped to the application
- Blue dots: Potential servers that may be related to this application but are yet to be mapped
The Server List below the network diagram shows:
- Data Health: Status of each server’s health
- Associated Application: Whether the server is mapped to an application
- VM Description: Detailed information on the server’s virtual machine (VM)
- Unique Software: Lists unique software installed on the server
- Environment: Whether the server is associated with an environment (editable in Admin settings)
Map Servers
The Map Servers tab allows you to take action by assigning servers to the appropriate application.
Choose Application
- Enter a new application name, or
- Click + Use Existing Application to select from existing applications
Select Servers
Review the list of servers that can be mapped, showing:
- Server name
- Environment
- Probability score
Save Mapping
Click Save to finalize the mapping after selecting servers and the appropriate application