

Running DMC
The Dr Migrate Collector (DMC) can be run against different environments to gather the data required for analysis.
Pick the guide that matches your estate.
Download DMC
Download DMC Package
Download the DMC package from your Dr Migrate instance.
Launch DMC and Enter License Key
Run DMC.exe from your installation directory as Administrator.
Running as administrator ensures the tool can write to output folders and logs correctly.
If Running DMC.exe Is Blocked
Windows may block executables downloaded from the internet.
- Right-click the
.exefile - Select Properties
- Under the General tab, look for the Security section
- If you see an Unblock option, tick it
- Click Apply and OK
Input License Key
Input the license key you received when downloading DMC.
Configure Output Directory and Review Existing Scans
Set Output Directory
Before proceeding with scan configuration, you can specify where scan results will be saved:
- Review Default Location: The default output directory is
C:\temp - Change Directory (optional):
- Click the Browse button next to the output directory field
- Navigate to your desired directory
- Select the folder and click OK
- Verify Path: Confirm the path displayed in the input field is correct
Output Directory Purpose: All scan results, logs, and metadata will be saved to this directory. The path you set here applies to all scan types (VMware, Physical, Database Assessment).
Default Location: If not changed, scans will be saved to C:\temp. You can change this at any time before starting a scan.
Review Existing Scans
The "Existing Scans Found" section displays any previous scan results in the selected output directory:
- If scans are found: You'll see a count of available scans (e.g., "1 scans found in C:\temp") and a table listing scan details
- If no scans are found: The section displays "No previous scans found in this directory"
Scan Discovery: Database Assessment can automatically discover SQL Server instances from previous VMware or Physical scans stored in this directory. If you've completed infrastructure scans, they will be available for SQL Server discovery.
Scan Management: After completing scans, you can return to this screen to review, export, and manage your scan results. Use the checkboxes to select scans for export, then click "Export Selected Scans" or "Download Offline Report".
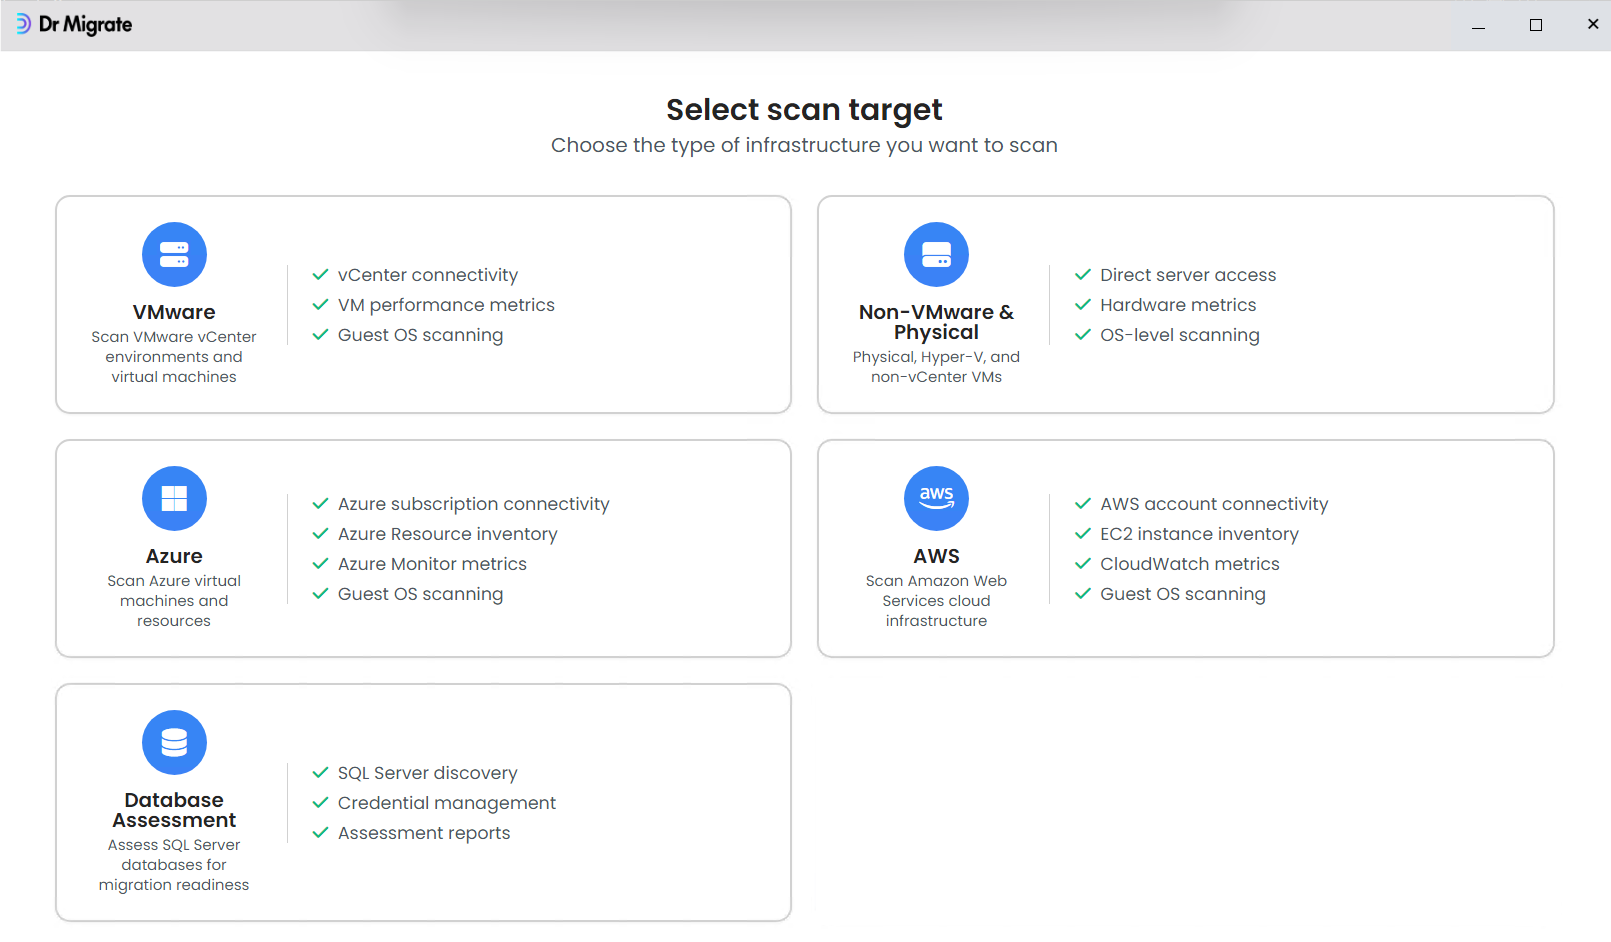
Once setup is complete, select your scan type below.
Scan VMware vCenter environments and virtual machines.
Physical, Hyper-V, and non-vCenter VMs.
Scan Azure virtual machines and resources.
Scan Amazon Web Services cloud infrastructure.
Assess SQL Server databases for migration readiness.
Each guide covers prerequisites, setup, configuration, scanning, and result handling specific to that environment.
Scan Modes
DMC runs up to four scan modes during a collection. Each mode is independent and can be enabled or disabled in the DMC configuration. The modes run in the order below, and some have dependencies on earlier modes completing first.
| Mode | What it collects | Depends on | Notes |
|---|---|---|---|
| Software | Installed application inventory: name, version, and vendor for every installed program | None | Requires guest access (WMI on Windows, package managers on Linux). Timeout: 10 minutes. |
| Network | Active network connections and listening ports, used to map application dependencies | Software | Requires guest access. Captures one snapshot at scan time, not continuous monitoring; see Network connection snapshot. Timeout: 5 minutes. |
| DB-MSSQL | SQL Server instance details: edition, version, instance names, and configuration settings | Software | Only runs automatically if SQL Server is detected during the Software scan. Timeout: 5 minutes. |
| Metric | Performance metrics: CPU, memory, disk, and network utilisation | None | VMware scans read 30 days of vCenter history. Physical scans take a point-in-time sample; see Performance metric collection. Timeout: 10 minutes. |
Running VMware and Physical scans of the same servers will cause duplicate servers to appear in Dr Migrate.