Azure Migrate
Once you’ve completed data collection using Azure Migrate, the next step is to connect your project to Dr Migrate and begin exploring your environment insights in the Dr Migrate Platform
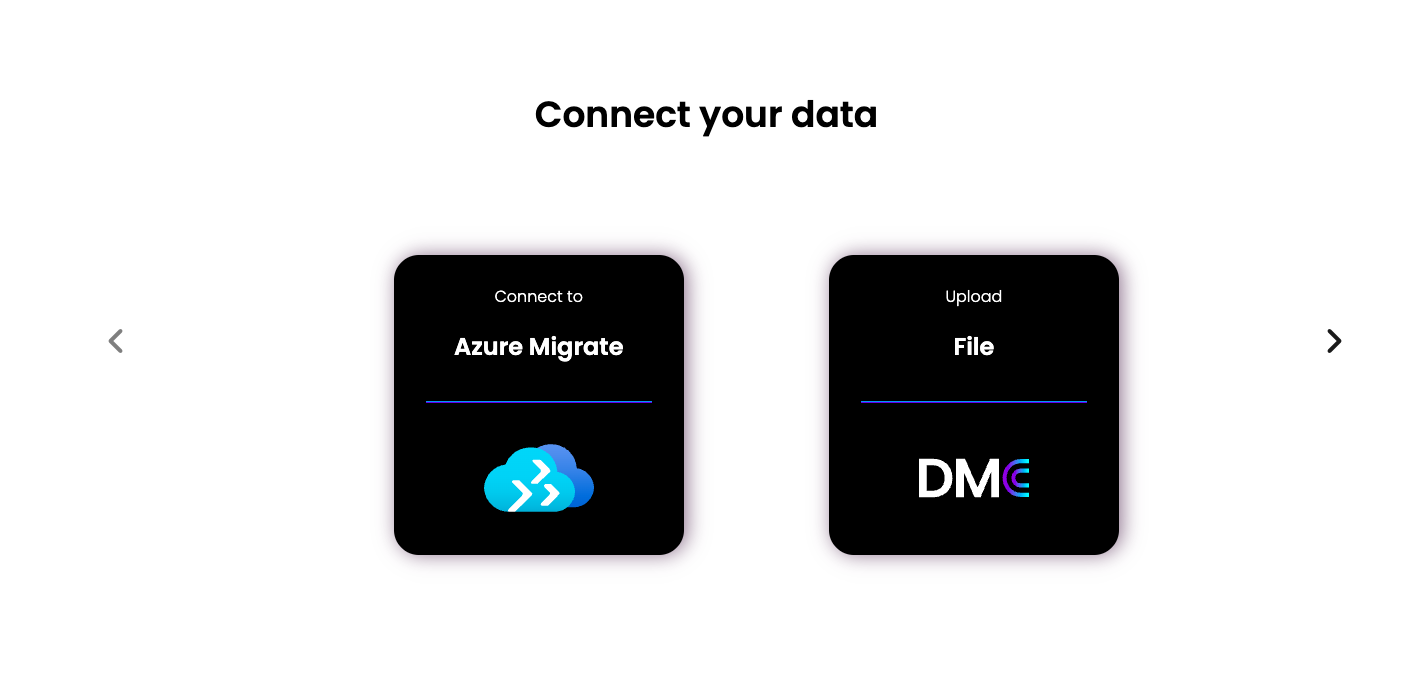
Choose Azure Migrate as Your Data Collection Source
Select Azure Migrate as your Data Collection Source.
Enter Azure Migrate Connection Details
Fill in the following details to connect your Azure Migrate project:
| Item | Where to Find |
|---|---|
| Azure Tenant ID | Search “Tenant Properties” in the Azure portal |
| Azure Subscription ID | Go to the Azure Migrate Resource Group > Properties |
| Azure Migrate Project Resource Group | Go to the Azure Migrate Resource Group > Properties |
| Server Principal Application (Client) ID | Azure Portal > App Registrations > Select your SPN > Overview |
| Service Principal Secret Value | Retrieve from your secure store (set during the prerequisites step) |
If any value is missing or invalid (e.g., malformed secret), an alert will guide you to resolve the issue.
Sync Data
Once the connection information is entered, click Sync Data to start the ingestion process.
Processing typically takes up to 24 hours, depending on the size of your Azure Migrate project.
Explore Your Insights
Once processing completes, you can immediately:
- View environment summaries including VM sizing, software inventory, and utilization metrics
- See curated proposals identifying modernization opportunities
- Launch into the migration planning workflow, including:
- Workload grouping and wave planning
- Azure SKU right-sizing recommendations
- Total Cost of Ownership (TCO) analysis
Next Steps
Still stuck? Let us know on our Support page and we’ll help you out.