Managing Scope
In Dr Migrate, you can mark applications or servers as “out of scope” for an assessment. This allows you to exclude specific items from Total Cost of Ownership (TCO) and overall count calculations, helping you focus only on what’s relevant to your migration.
Before managing scope, it’s important to establish your application-to-server mapping. You can do this in one of two ways:
- Run the CMDB Auto Map from the Inventory Mapping section for AI-assisted mapping
- Use the Quickstart Wizard, which includes automatic mapping along with default 6R treatments and an initial wave plan
Either option will give you a structured baseline, making it easier to decide what should be in or out of scope.
Once your application structure is in place, you can mark items as out of scope using one of the methods below.
Methods of Marking as Out of Scope
You can mark applications and servers as out of scope using one of two methods:
Set Scope Via the UI
You can set scope at either the application or server level using the toggle provided.
Set Application-Level Scope
Marking an application as out of scope will also mark all its associated servers.
- From Advanced Mode, go to Inventory > Applications.
- Use the scope toggle for the relevant application.
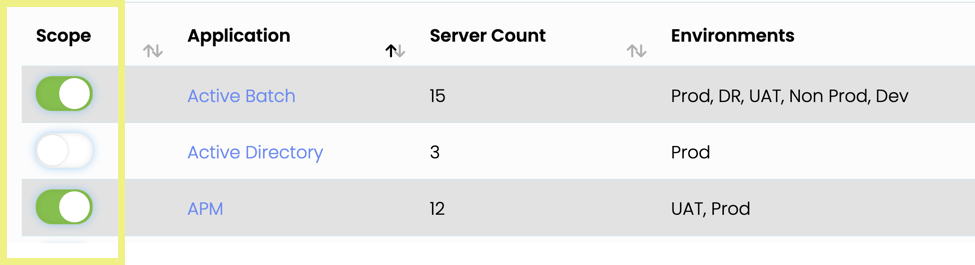
Figure 1: Setting application-level scope in the Applications inventory view
Set Server-Level Scope
You can also mark individual servers as out of scope.
- From Advanced Mode, go to Inventory > Servers.
- Use the scope toggle for the relevant server.
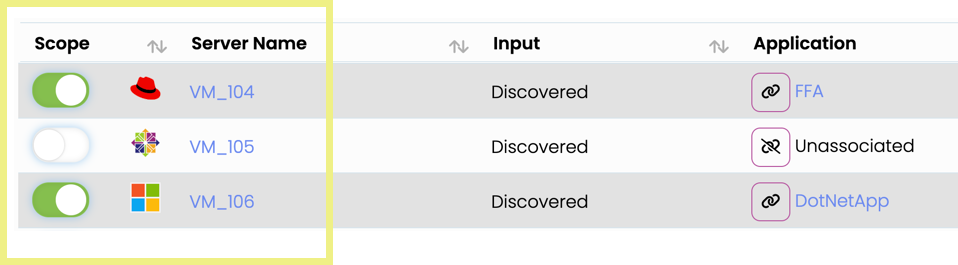
Figure 2: Setting server-level scope in the Servers inventory view
Set Scope Using Bulk Upload
You can also use the bulk upload method to mark servers as out of scope.
- From Advanced Mode, go to Inventory > CMDB > Inventory Upload.
- Click the Download Pre-Filled Template button to generate an XLS listing all discovered servers.