DMC (Dr Migrate Collector)
This guide walks you through the complete process of downloading, preparing, and running the Dr Migrate Collector (DMC) in your environment.
Before running DMC in your environment, ensure the following prerequisites are in place. This checklist will help ensure a smooth and successful data collection process.
Prerequisites
| Requirement | Learn More | |
|---|---|---|
| ✅ | Access to your Dr Migrate SaaS instance. | Learn More |
| ✅ | Windows-based VM (Jump Box) with required specifications. | Learn More |
| ✅ | Network connectivity to target systems. | Learn More |
| ✅ | Appropriate credentials for target systems. | Learn More |
| ✅ | Enterprise Agreement pricing configured (if applicable). | Learn More |
| ➡️ | Download and run DMC. | Learn More |
System Requirements
- Access to your Dr Migrate SaaS instance
- Windows-based VM (Jump Box) with:
- Windows Server 2016 or later
- 4 vCPUs minimum
- 8 GB RAM minimum
- 25 GB free space per 4,000 VMs scanned (for temporary data storage)
- Minimum resolution of 800×600
Network Requirements
DMC requires network access to target systems within the scope of discovery. The specific ports and protocols vary by platform:
VMware Environments
- vSphere Version: vSphere 6.0 and above
- Network Access:
- Jump Box → vCenter Servers (port 443/HTTPS) for API communication
- Jump Box → ESXi Hosts (port 443/HTTPS) for guest VM metrics transfer
Physical Server and Hyper-V Environments
- Windows Servers/VMs: WinRM (ports 5985/HTTP, 5986/HTTPS)
- Linux Servers/VMs: SSH (port 22)
Credential Requirements
Security Note:
- DMC is designed for one-time operations using administrator credentials
- All credentials are stored in memory only and never persist beyond execution
- This approach eliminates the need for creating bespoke accounts
vCenter Access (VMware Environments)
- vCenter Admin Account with:
- Read-only access to VMs, Hosts, and Datastores
- Guest Operations execution role
- Access to retrieve performance metrics
Guest OS Credentials
- Windows VMs: Domain Admin or Local Admin (for system settings, software inventory, network stack, and processes)
- Linux VMs: Root or Sudo-enabled user (for installed packages, active processes, and network connections)
Permissions Required
- Appropriate permissions to run discovery tools in your environment
- Ability to execute lightweight guest operations without impacting environment stability
Enterprise Agreement Pricing
To enable Enterprise Agreement pricing in Dr Migrate, you need to:
-
Create a Service Principal with the following:
- Application (Client) ID: The Service Principal’s application ID
- Client Secret Value: A client secret (store securely)
For Microsoft documentation on creating a Service Principal in Entra ID, see here.
-
Assign the Cost Management Reader role to your Service Principal:
- Role: Cost Management Reader
- Scope: Subscription where Azure Migrate is deployed (or where you plan to deploy Azure resources)
- Purpose: Used to access your customer-specific price sheet
-
Enable the “Account owners can view charges” policy in your Enterprise Agreement:
- Sign in to Azure Portal with an Enterprise Administrator account
- Navigate to Cost Management + Billing
- Select your Billing Account
- Under Settings, choose Policies
- Set “Account owners can view charges” to On
After completing these prerequisites, you can sync your EA pricing through the TCO Config interface. See the Sync Enterprise Agreement Pricing guide for step-by-step instructions on configuring EA pricing sync.
For detailed system requirements and least privilege setup options, see the System and Access Requirements section.
Download DMC
Connect to Your Dr Migrate Instance
Each customer is provisioned with their own dedicated, secure Dr Migrate instance.

Once you are logged in, you will see your deployment. If the VM is not started, please click Start.
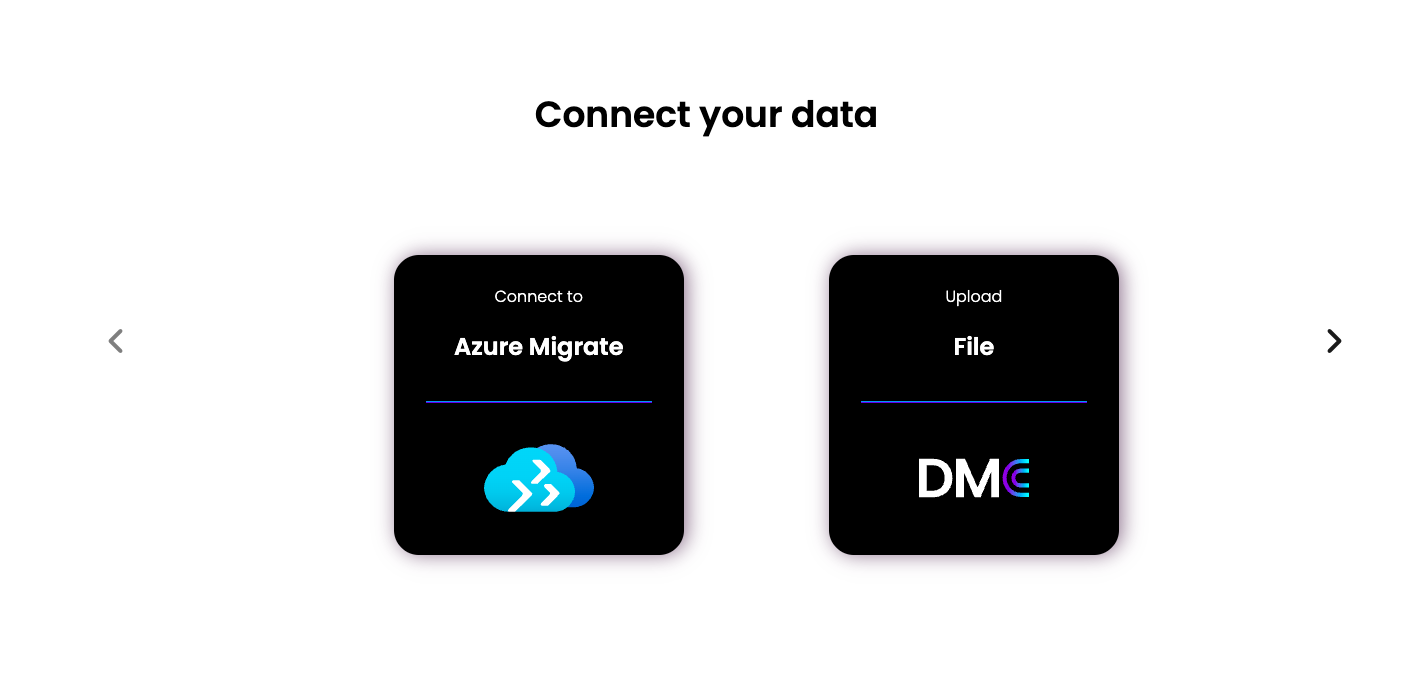
Choose DMC Data Collection Source
When logging in for the first time, you will be prompted to select a ‘Data Source’ to connect to. Choose DMC.
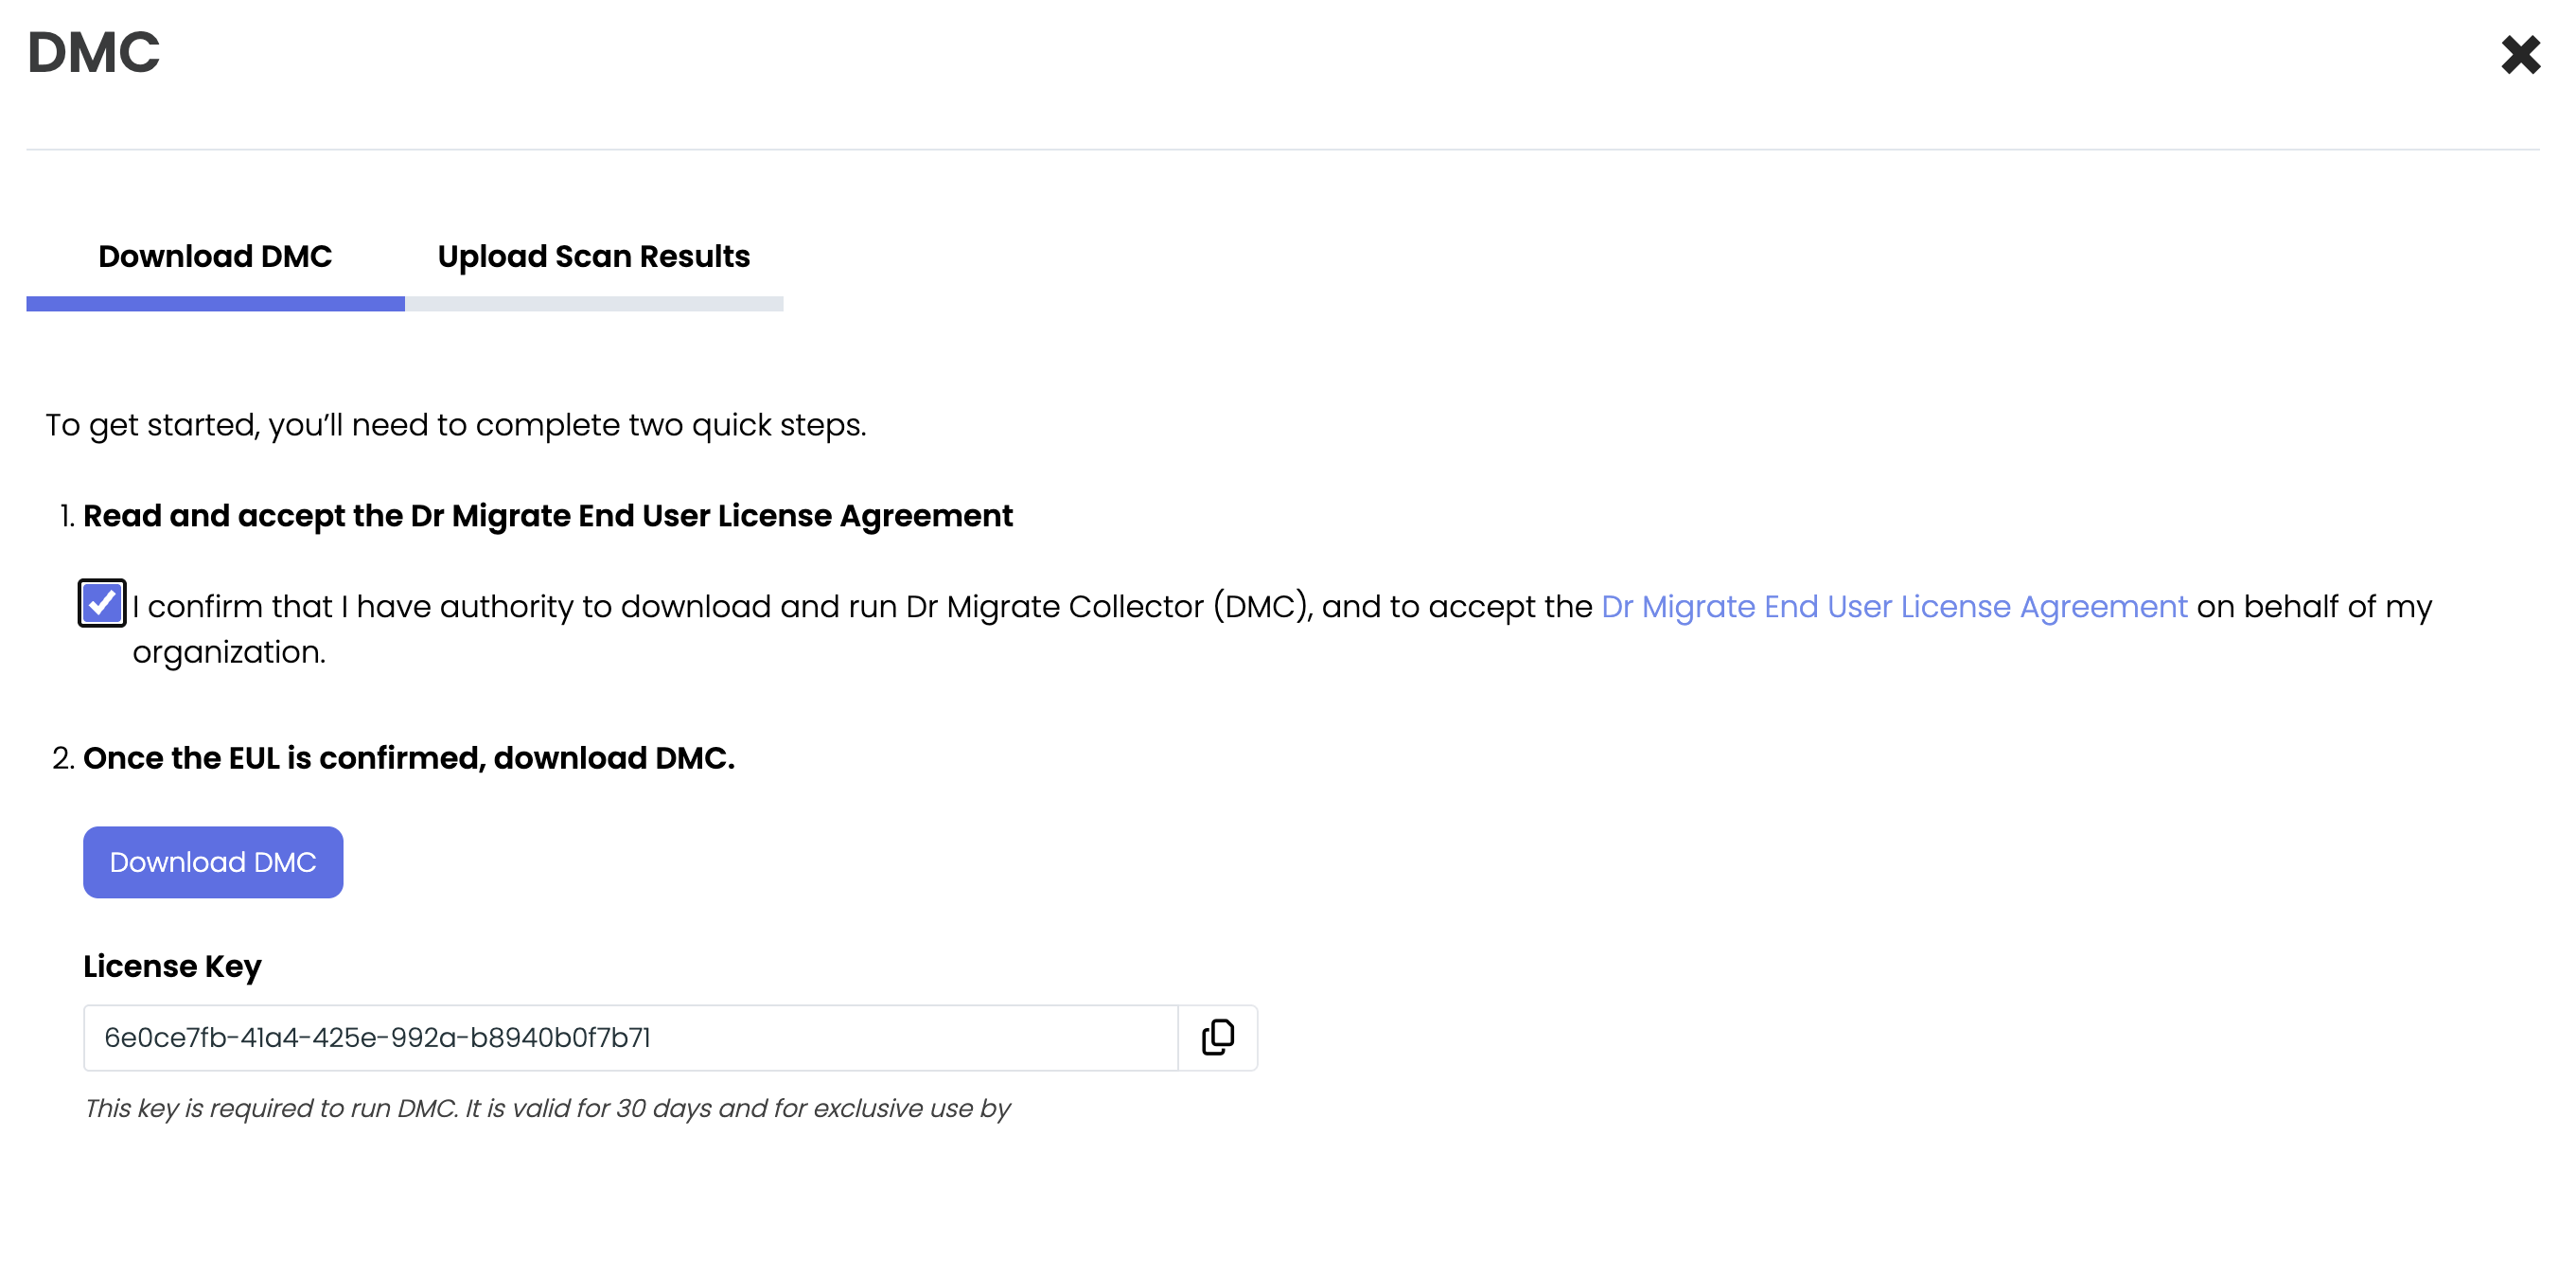
Download DMC
- Accept the Dr Migrate End User License Agreement (EULA).
- Proceed to download the DMC application.
- Copy the provided license key.
Prepare and Run DMC
Launch DMC
Launch DMC.exe as Administrator from your installation directory.
Enter license key
Enter the DMC license key that was provided during the download step.
If DMC.exe is blocked by Windows
- Right-click the .exe file you downloaded.
- Select Properties from the context menu.
- Under the General tab, look at the bottom for a section called Security.
- If you see a checkbox or button labeled Unblock, tick it or click it.
- Click Apply, then OK.
Antivirus Software Exclusions
Required Exclusions:
- DMC.exe - Main DMC application
- DMC-CLI.exe - Command-line interface for DMC
- 7zip.exe - Compression utility used by DMC
How to Add Exclusions:
- Open your antivirus software settings
- Navigate to Exclusions, Exceptions, or Trusted Files
- Add the DMC installation directory to the exclusion list
- Alternatively, add each executable individually to the trusted files list
Configure Target-Specific Settings
DMC supports multiple target types including VMware, Hyper-V, and Physical environments. The configuration process varies depending on your target environment. Choose the appropriate guide below for detailed step-by-step instructions: