DMC (Dr Migrate Collector)
Prerequisites Checklist
Before proceeding with DMC deployment, ensure the following prerequisites are in place:
| Requirement | Learn More | |
|---|---|---|
| ✅ | Complete Marketplace Infrastructure Setup. | Learn More |
| ✅ | Approve Required Resource Providers. | Learn More |
| ✅ | Complete Fabric (Power BI) Configuration. | Learn More |
| ✅ | Enterprise Agreement pricing configured (if applicable). | Learn More |
Marketplace Infrastructure Setup
Permissions Required
If this is not possible, the least privileged approach requires the following permissions:
- Application Admin
- Groups Admin
- Subscription Owner
- Fabric Admin
- Marketplace Admin
- User Access Administrator
For more information about least privileged role assignment in Azure, see the Microsoft Learn Portal.
Create Service Principal
Dr Migrate requires a Service Principal to communicate with Azure Migrate and Power BI.
Service Principal Creation Guidelines:
- SPN Name: It is recommended to name the App Registration “drmigrate-spn”
- Client Secret Creation: Dr Migrate requires a client secret with 12-month expiry recommended
For Microsoft documentation on creating a Service Principal in Entra ID, see here.
Create a Security Group for the Service Principal
Create a security group to house the Service Principal and assign Power BI permissions:
- Group Name: It is recommended to name the Security Group “drmigrate-powerbi”
- Group Membership: The Service Principal should be added as a member of the security group
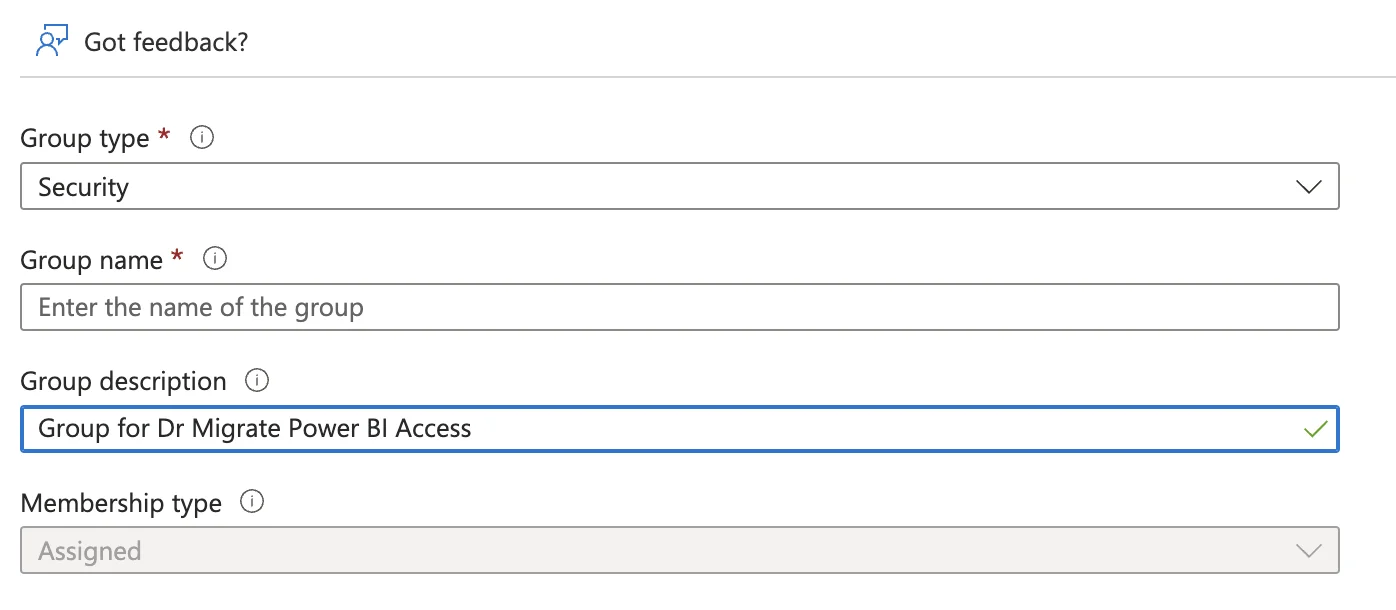
Create a new security group with the recommended name
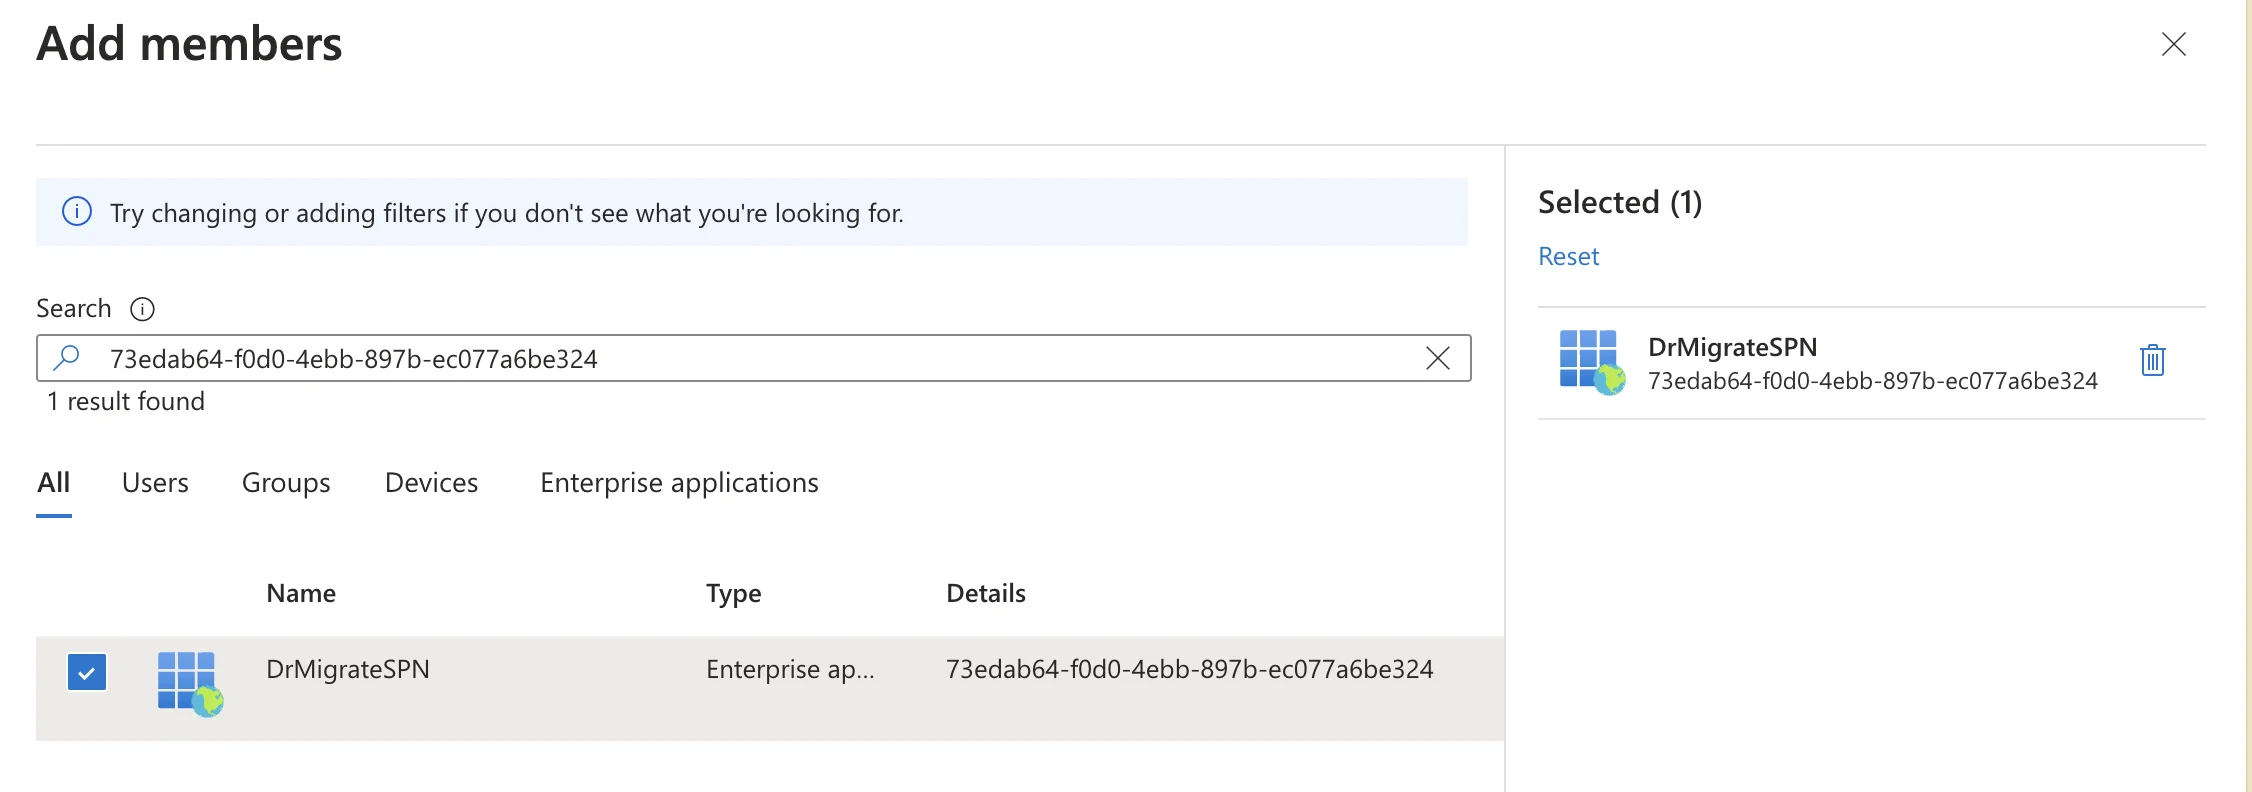
Add the service principal as a member of the security group
To learn more about how to assign access to Entra ID Security Groups, see here.
Configure SPN Access
Assign your Service Principal the following permissions:
| Role | Scope | Reason Required | Requirement |
|---|---|---|---|
| Contributor | Resource Group where the managed application will be deployed | Required for Dr Migrate to create and manage Azure Migrate resources | Mandatory |
Approve Required Resource Providers
Dr Migrate requires specific Azure resource providers to be registered and approved in your subscription. These providers enable Dr Migrate to create and manage Azure Migrate resources within the managed application resource group.
Required Resource Providers:
- Microsoft.OffAzure - Required for Azure Migrate discovery and assessment capabilities
- Microsoft.Migrate - Required for Azure Migrate project management
To approve resource providers:
- Sign in to Azure Portal with a subscription owner account
- Navigate to Subscriptions and select the subscription where Dr Migrate will be deployed
- Open the Subscription > Resource Provider tab and find the required resource providers
- Search for and select each required provider:
- Microsoft.OffAzure
- Microsoft.Migrate
- Click Register for each provider
- Verify registration status shows as “Registered”
Enable Cost Management Policy for EA Pricing
Enterprise Agreement Customers Only: Skip this section if you do not have an Enterprise Agreement with Microsoft. If you have an EA and want Dr Migrate to apply your agreed discounts when providing TCO costings, complete both requirements below.
After completing these prerequisites, you can sync your EA pricing through the TCO Config interface. See the Sync Enterprise Agreement Pricing guide for instructions.
Assign Cost Management Reader Role
Assign the Cost Management Reader role to your Service Principal:
| Role | Scope | Reason Required | Requirement |
|---|---|---|---|
| Cost Management Reader | Subscription where Dr Migrate will be deployed | Used to access customer specific price sheet | Required for EA pricing |
Enable Account Owners Can View Charges Policy
Complete these additional steps to enable EA pricing access:
- Sign in to Azure Portal with an Enterprise Administrator account
- Navigate to Cost Management + Billing
- Select your Billing Account
- Under Settings, choose Policies
- Set “Account owners can view charges” to On
Learn more about how to assign RBAC roles here.
Audit Azure Policy
When Dr Migrate installs, it deploys Azure resources to a managed Resource Group. These resources may be subject to Azure policy.
To mitigate deployment failures, temporarily exempt policies at the Subscription level that have the following effects:
- Append
- DeployIfNotExists
- Deny
- Modify
To learn how to exempt Azure Policy from resources, see here.
Azure Migrate Project Configuration
Review Azure Migrate Project Connectivity Method
If Private Endpoint must be used then additional configuration steps are required. See Private Endpoints for more information.
Microsoft also has documentation for those seeking further information, see here.
Azure Migrate Appliance Connection
Azure Migrate appliances must not be connected to the Azure Migrate project created by Dr Migrate. DMC does not currently support environments with Azure Migrate appliances.
Fabric (Power BI) Configuration
Configure settings in the Power BI tenant
Head to Power BI Admin Portal to configure access to the Power BI settings for the Security Group containing the Service Principal.
From the left-hand side menu select Tenant Settings. You will be presented with a list of options that need to be configured.
Most of these settings need to be enabled. You can either have this at the organizational level or specify the Dr Migrate Security Group.
Configure the following settings:
Workspace settings -> Create workspaces (new workspace experience)
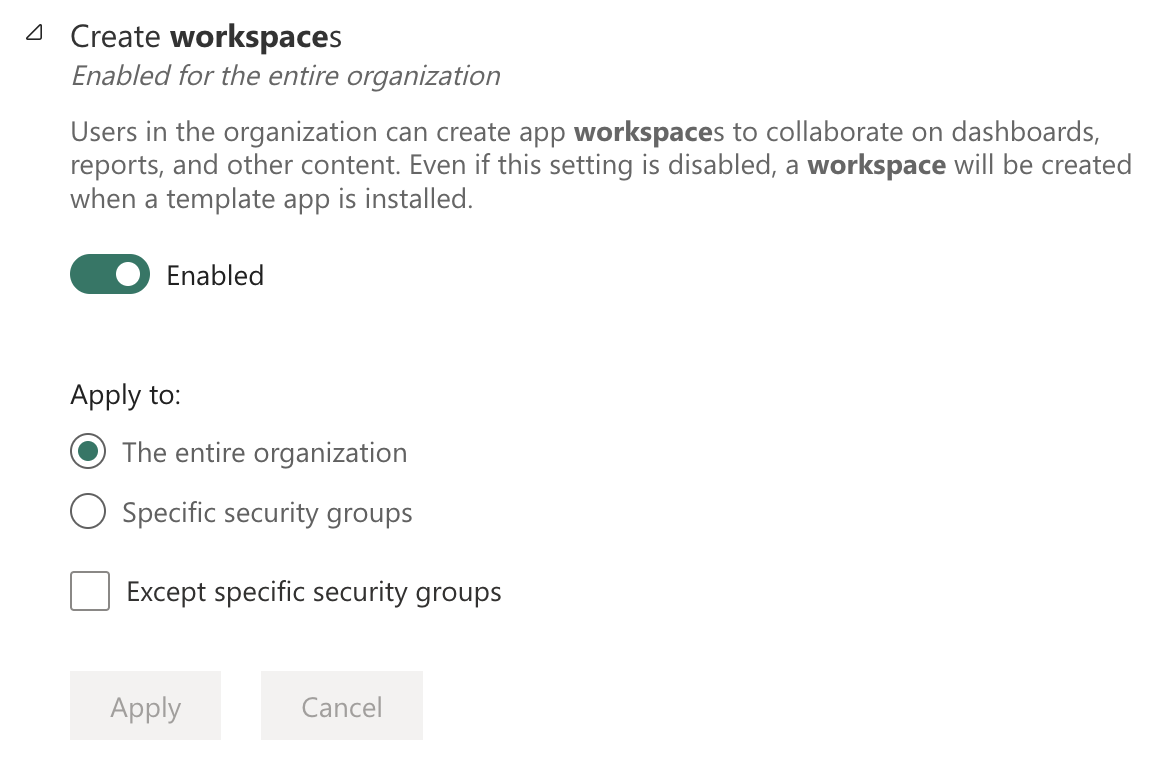
Configure workspace creation settings
Developer settings -> Service principals can create workspaces, connections, and deployment pipelines
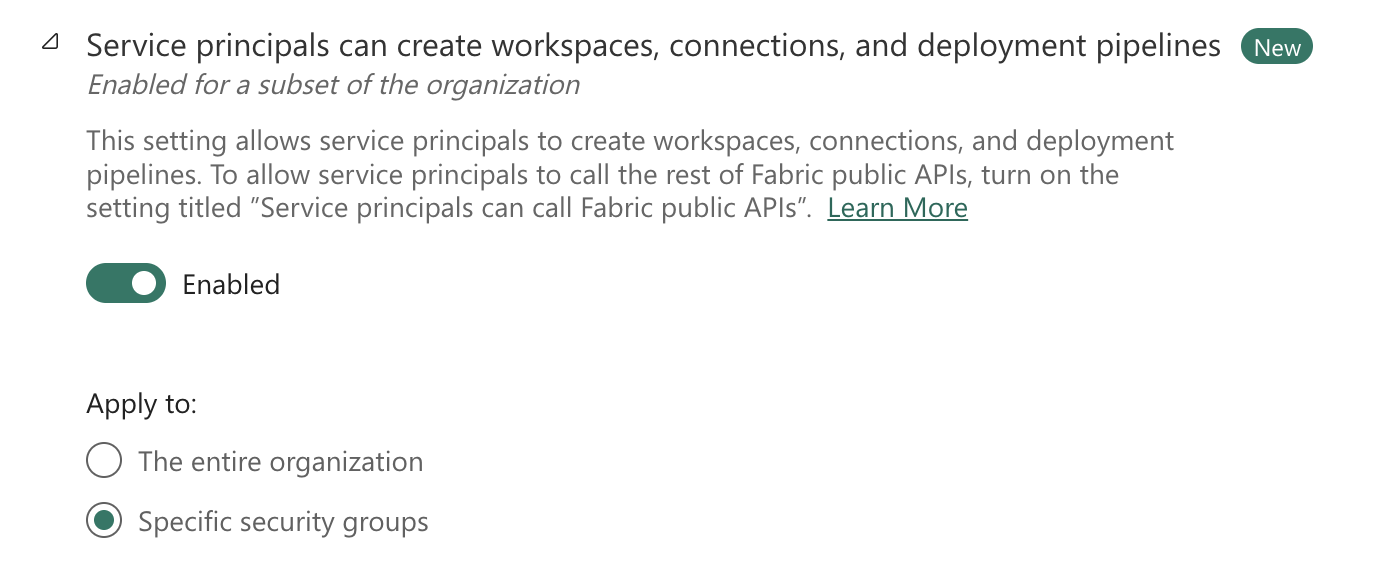
Service principals can create workspaces, connections, and deployment pipelines
Developer settings -> Embed content in apps
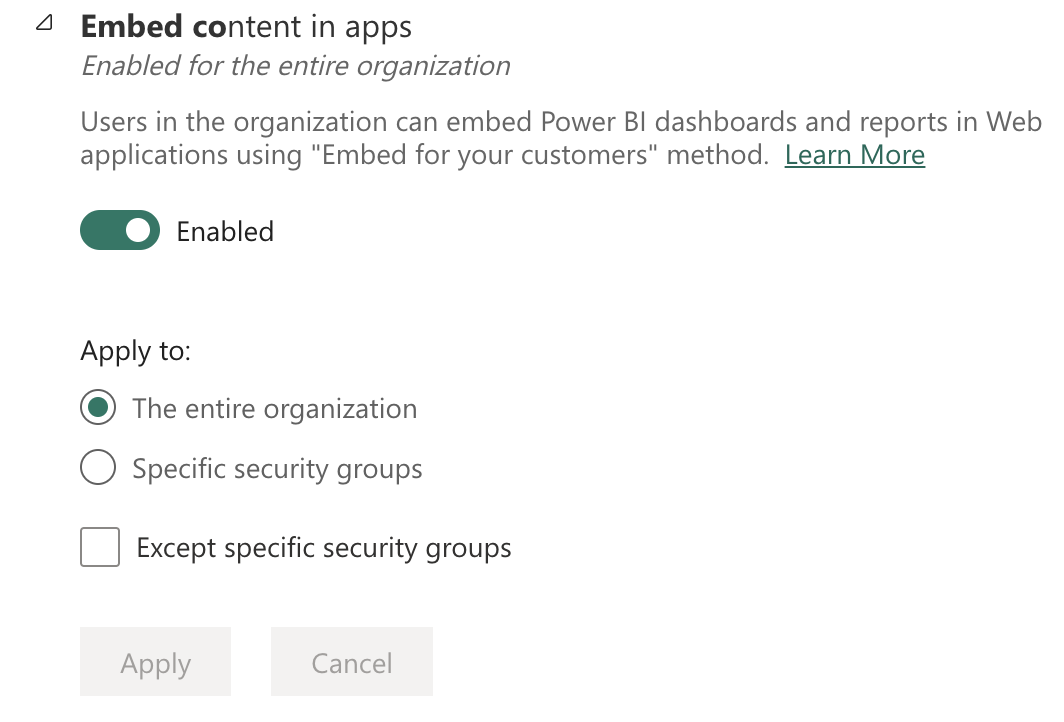
Configure embed content in apps settings
Developer settings -> Service principals to use Fabric APIs
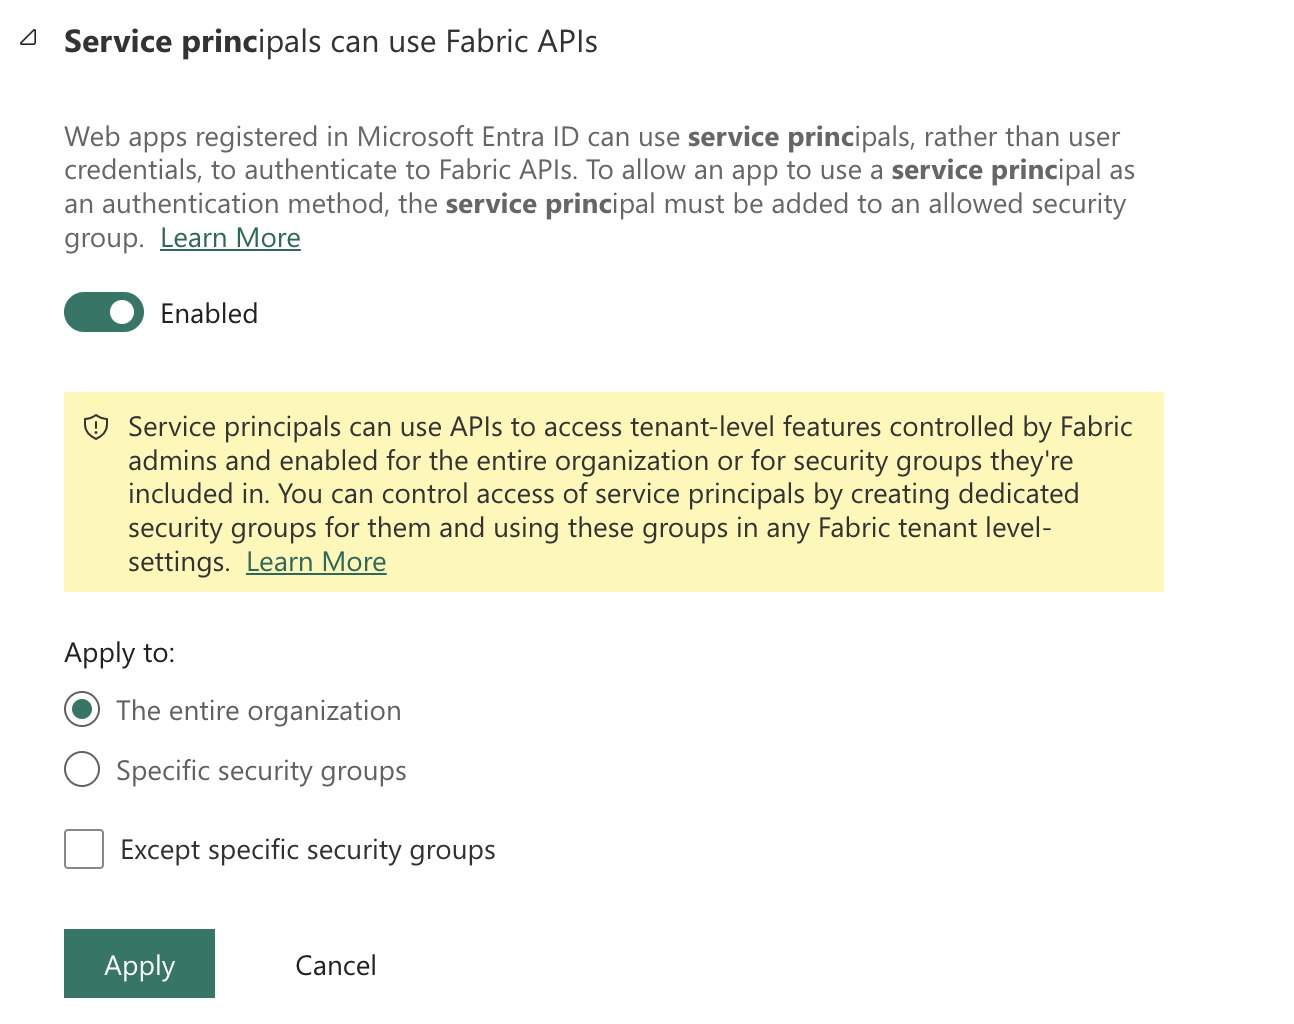
Configure service principal access to Fabric APIs
Export and sharing settings -> Export to Excel

Configure Excel export settings
Export and sharing settings -> Export to .csv
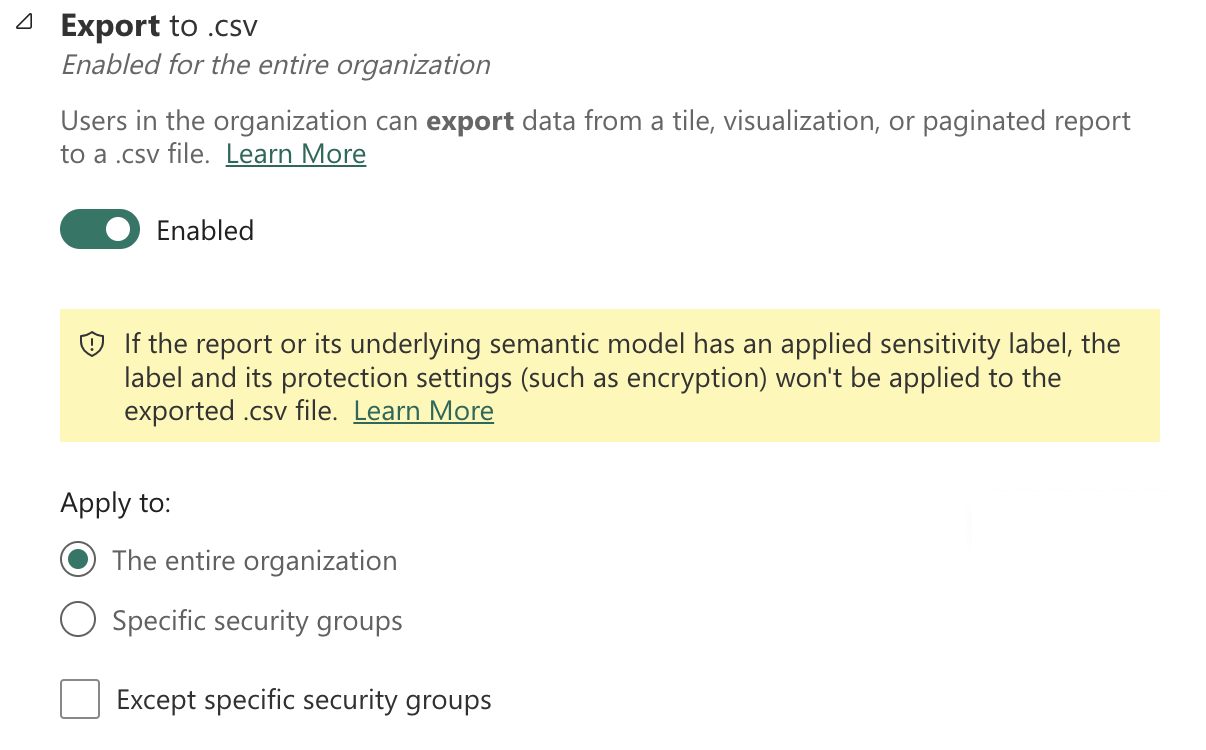
Configure CSV export settings
Export and sharing settings -> Export reports as PowerPoint presentations or PDF documents
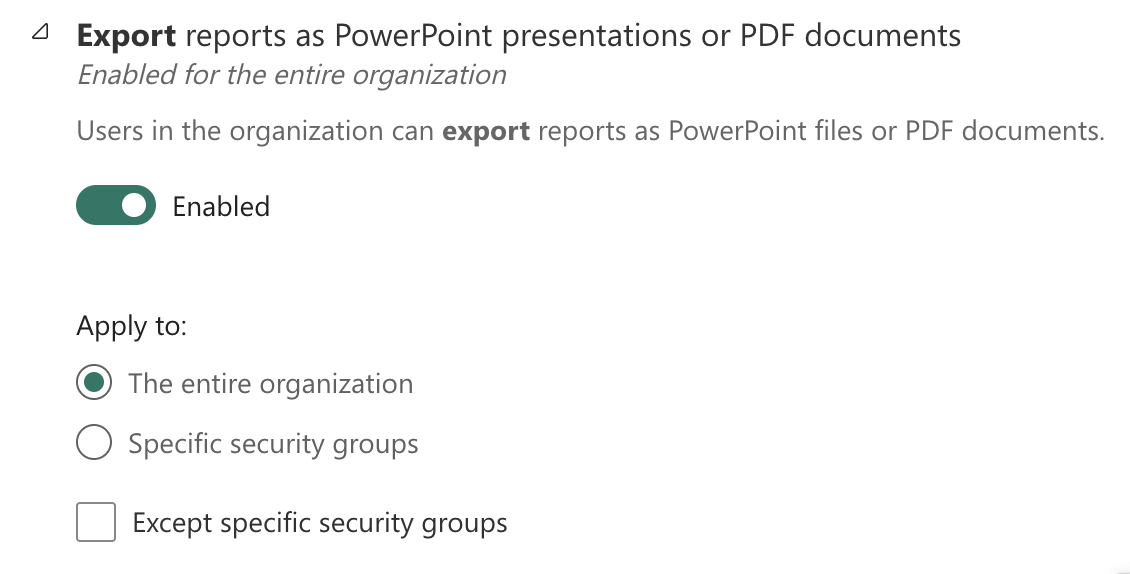
Configure PowerPoint and PDF export settings
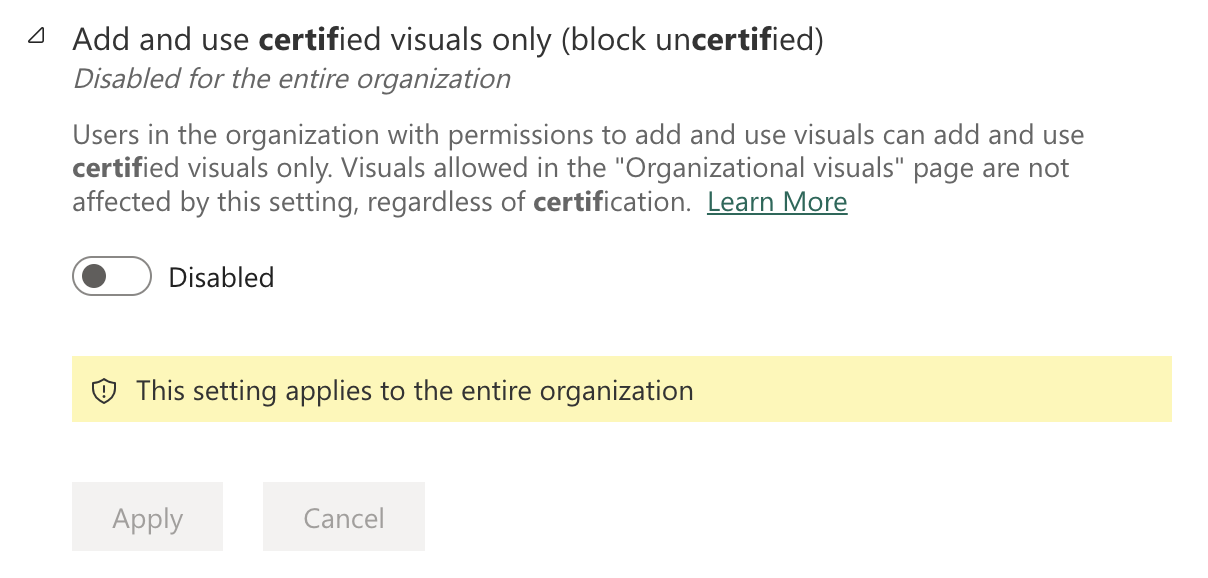
Power BI visuals -> Add and use certified visuals only. This setting needs to be configured to the Disabled state.
Enable tenant administration settings
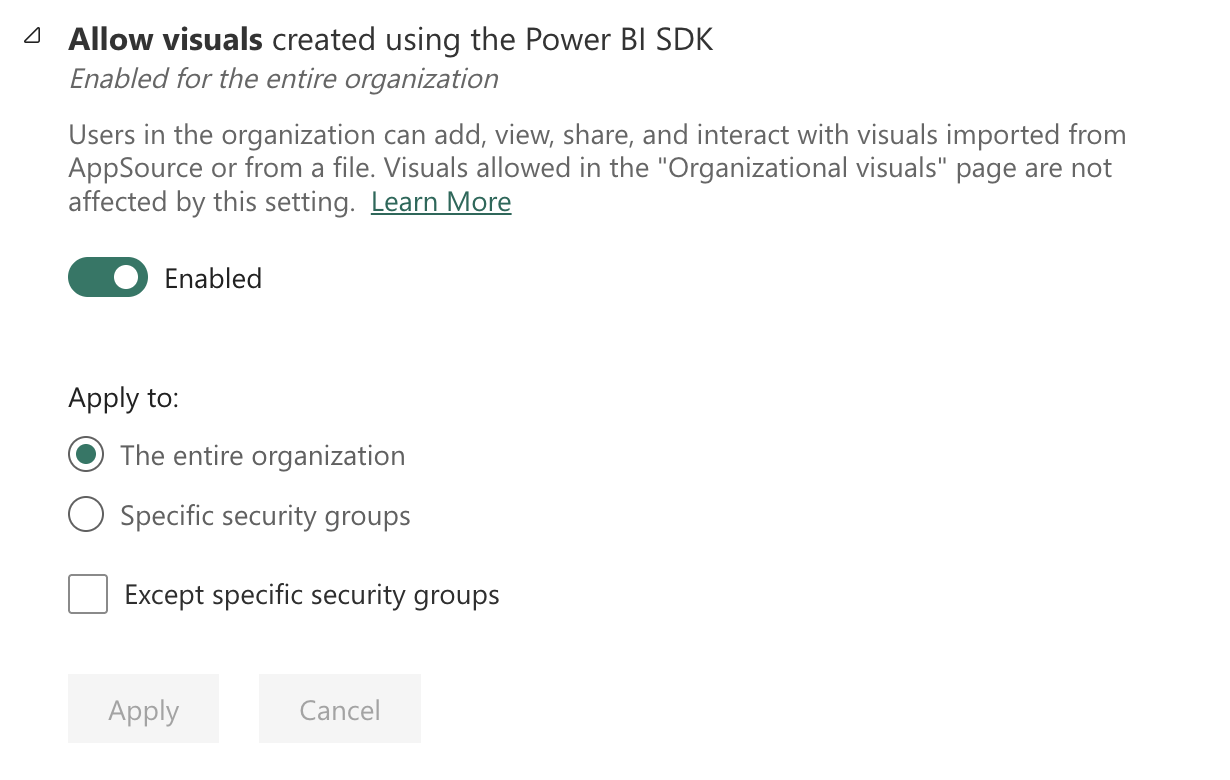
Power BI visuals -> Allow visuals created using the Power BI SDK.
Allow visuals created using the Power BI SDK
Required Visuals Installation
The Network Navigator visual is required for advanced dependency mapping functionality within this report. To ensure full feature availability for all users, it must be installed into the Organizational Visuals section of Power BI.
-
Download the
.pbivizfile from the Network Navigator GitHub repository. -
As a Fabric Admin, access the Power BI Admin Portal.
-
Navigate to Organizational Visuals.
-
Select Add a custom visual, then choose Upload from file.
-
Browse to the downloaded
.pbivizfile and upload it. -
Once uploaded, the visual will be available for all users in your organization via the Organizational Visuals pane in Power BI.
Gateway Administration
Dr Migrate uses an On-Premises data gateway as part of the solution.
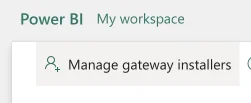
Within the Power BI Admin Center, navigate to “On-Premises data gateways” in the central panel.
Enable the Tenant Administration Settings using the switch on the right-hand side.

Enable tenant administration settings
Enabling this will show the “Manage Gateway Installers” option.
Access gateway installer management
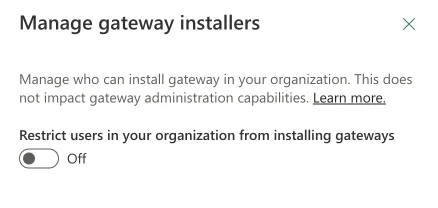
Alternative Approach: If you prefer not to add the SPN to Gateway Administrators, you can temporarily disable the gateway installation restriction:
Ensure that the “Restrict users in your organization from installing gateways” setting is set to Off.
Configure gateway installation restrictions
Security Note: If using the alternative approach, this setting needs to be turned off for Dr Migrate to install. It is recommended to:
- Turn this setting to “Off” while the Dr Migrate product is installing
- Turn the setting back “On” 60 minutes post installation
Next Steps
After completing the prerequisites, you can: