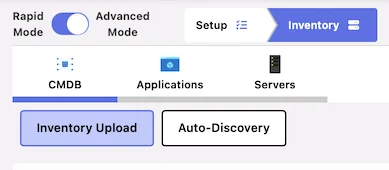
Inventory Upload

The Inventory section enables the assocation of servers to applications, it provides business context to the collected server telemetry.

Download the App to Server Template
Download Pre-Filled App to Server Template
To begin the bulk mapping process scroll to the “Download Bulk Upload Template” section and click the button of the same name.
After around 30 to 60 seconds a template file will be created and a link icon will appear. The link can be clicked to copy the file link which can then be pasted locally to download the mapping template.Updating the App to Server Template
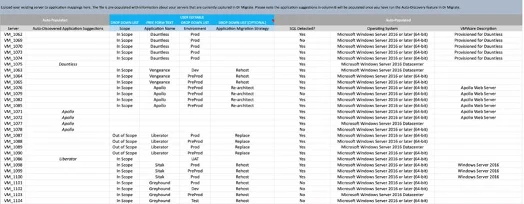
The workbook is simple to update, columns in blue are user-editable

The server-to-application mappings you provide do not have to be 100% complete for Dr Migrate to provide insights (accuracy is preferred), although the more mappings the better. If you’re unsure about any of the information, simply leave it blank.
Each field has either pre-defined values or allows free text input.
| Name | Reason for Capture |
|---|---|
| Scope | To understand if the machine is a candidate for migration |
| Application Name | The name of the associated business application (e.g., CMDB) |
| Environment | The environment the Server is in e.g., Dev, Prod, UAT |
| Application Migration Strategy | The Strategy for each Application e.g., Rehost, Replatform, etc. |
Uploading App to Server Template
Option A - Direct to storage account

- Copy the provided link and paste it into your desktops local browser. It will open an Azure Storage account window where you can upload the template.
- Once uploaded to the storage account, wait for 30 seconds. Then refresh the file list in Dr Migrate, once visible, click “Load into Dr Migrate” to load your mapping data.
- If you are uploading Application to Server Mapping, if any existing application names were changed in the template, a pop-up may ask you to remap the old app info (i.e. tags, wave plans, questionnaire data) to a new app. This can be ignored if not required - the upload will still completed.
- Once the upload is complete check the Application Manager page to see the results.
Option B - Upload via a secure link

This approach requires that you upload your application mapping to a secure file storage solution, such as Azure Blob storage, and generate a secure sharing link for Dr Migrate to use. Simply create a SaS link for your uploaded file, and paste it into the provided area, area and click load.
Click here to learn more about using Azure Blob Storage to upload files, and create SAS tokens.
 Simply locate your completed inventory file, and click Load into Dr Migrate