Admin

The Admin section provides access to key administrative functions:
| Section | Description |
|---|---|
| User Management | Allows administrators to manage users, set permissions within your Dr Migrate instance |
| Patching | Provides options to handle automatic deployment patching |
| Environment Settings | Configure available environment types |
| Service Principal | Manages service principal authentication settings |
| Backups | Enables users to run and manage backup settings for data, ensuring recovery options in case of issues |
| Data Reload | Facilitates reloading or re-importing data, from Azure Migrate connected scenarios |
User Management
User Management varies depending on your deployment type.
To access Dr Migrate, a dedicated login needs to be created for the requested user.
Users created within Dr Migrate, are also granted the ability to logon to the Dr Migrate Virtual Machine, via Bastion.
Prerequisites
The user account created during deployment of Dr Migrate has the required rights to create new users.
Create new user

Login to the Dr Migrate admin console and navigate to user management under admin.
Enter User Details
Enter the relevant details below, and ensure that the Active and Create Local System User tickboxes are selected.
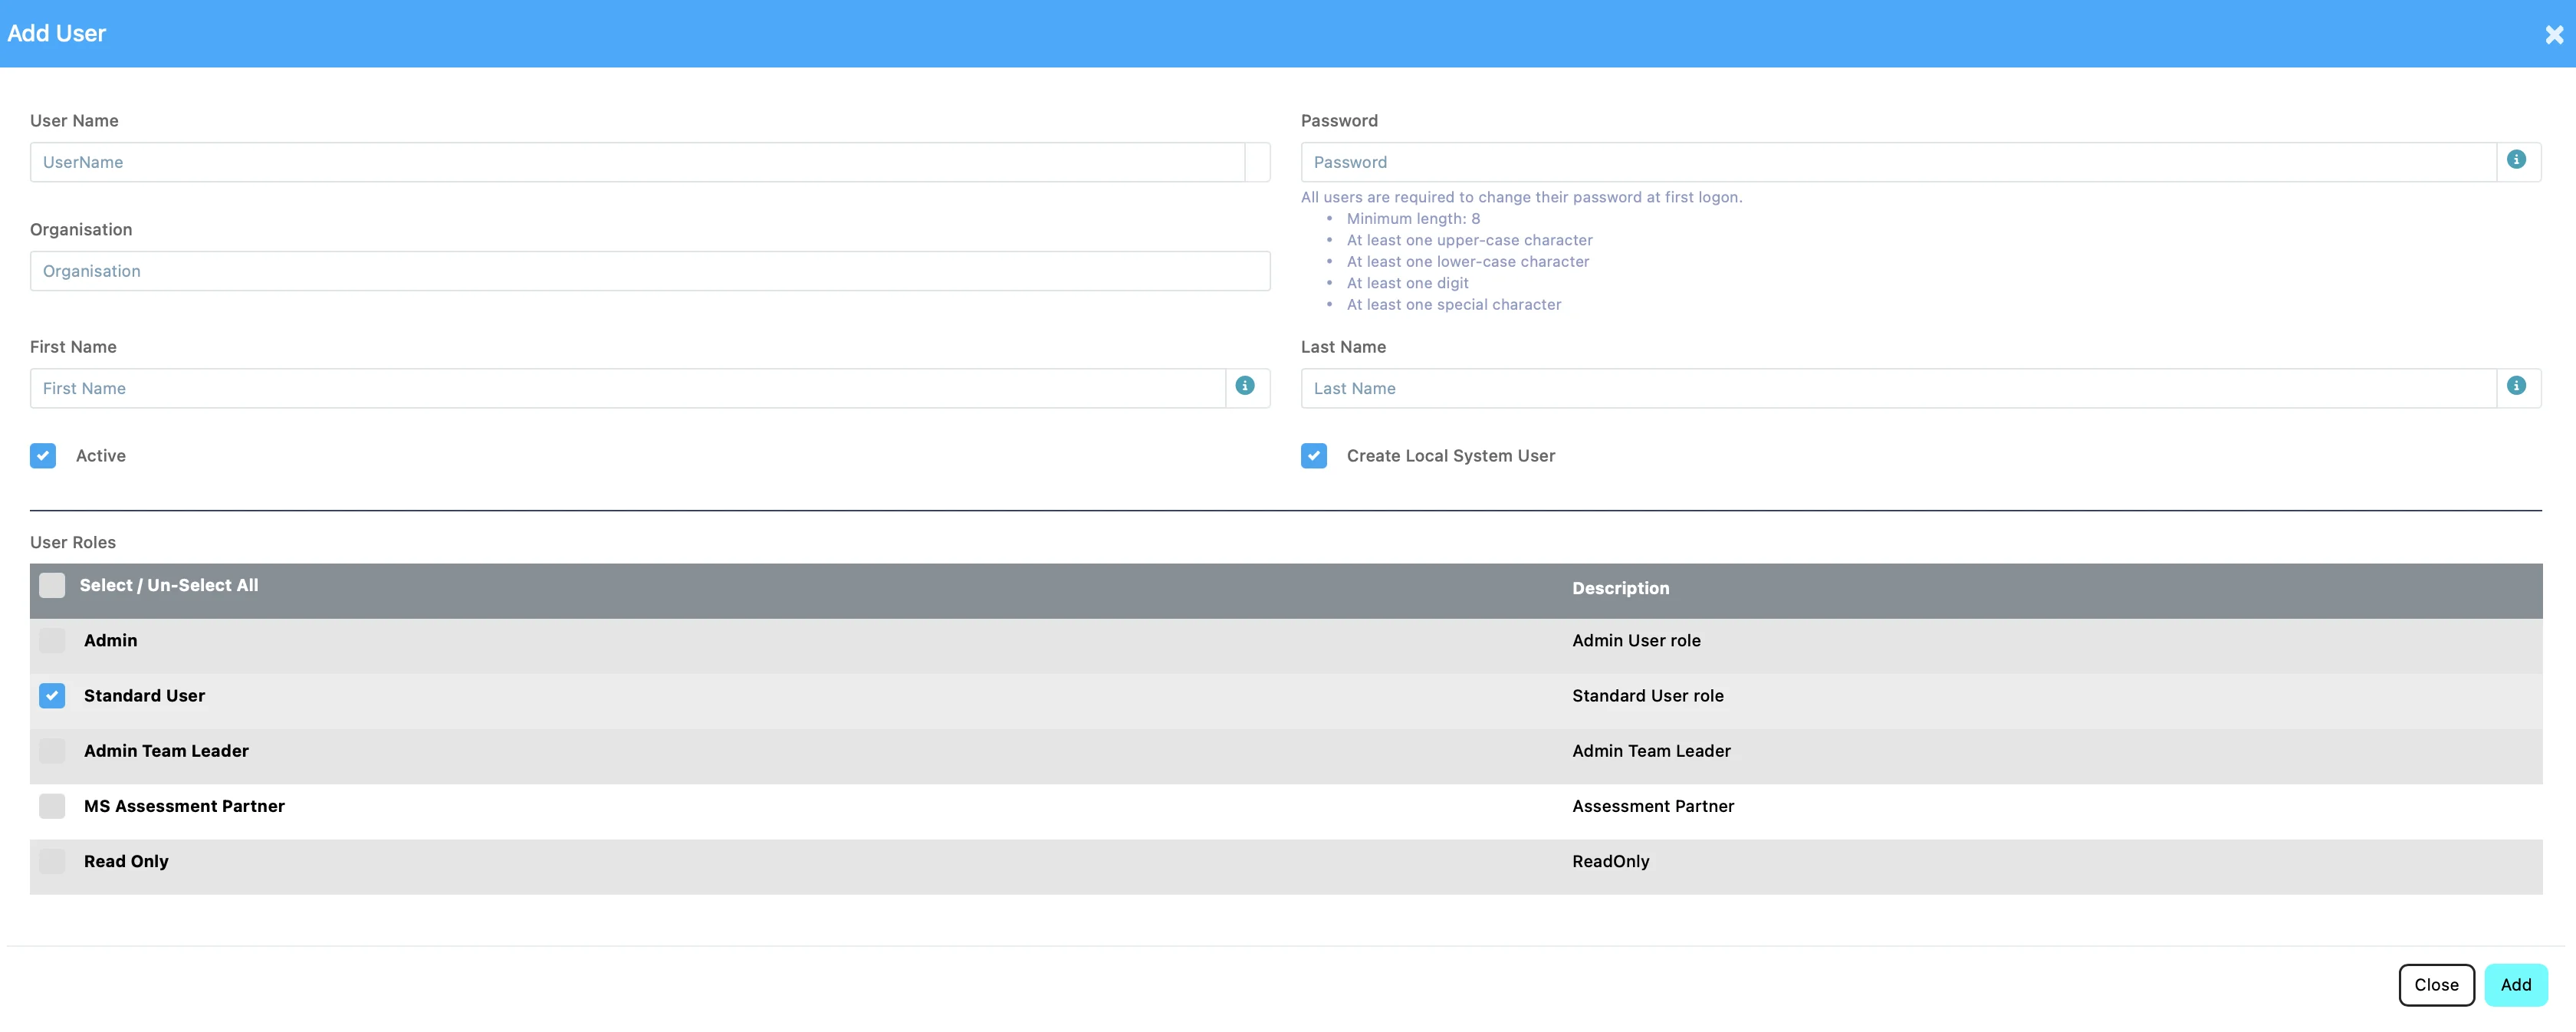
User Roles: The following roles are available
| Role | Description |
|---|---|
| Admin | Admin Users have all the same rights as Standard Users, and can also create new users |
| Standard User | Standard users are able to change settings within Dr Migrate, and view reports |
| Admin Team Leader | Admin Team Leads can manage other users, and view reports. |
| MS Assessment Partner | MS Assessment Partner’s can view reports, and manage Users |
| Read Only | Read only users, can only view reports. |
Password Rules Minimum length: 8
- At least one upper-case character
- At least one lower-case character
- At least one digit
- At least one special character
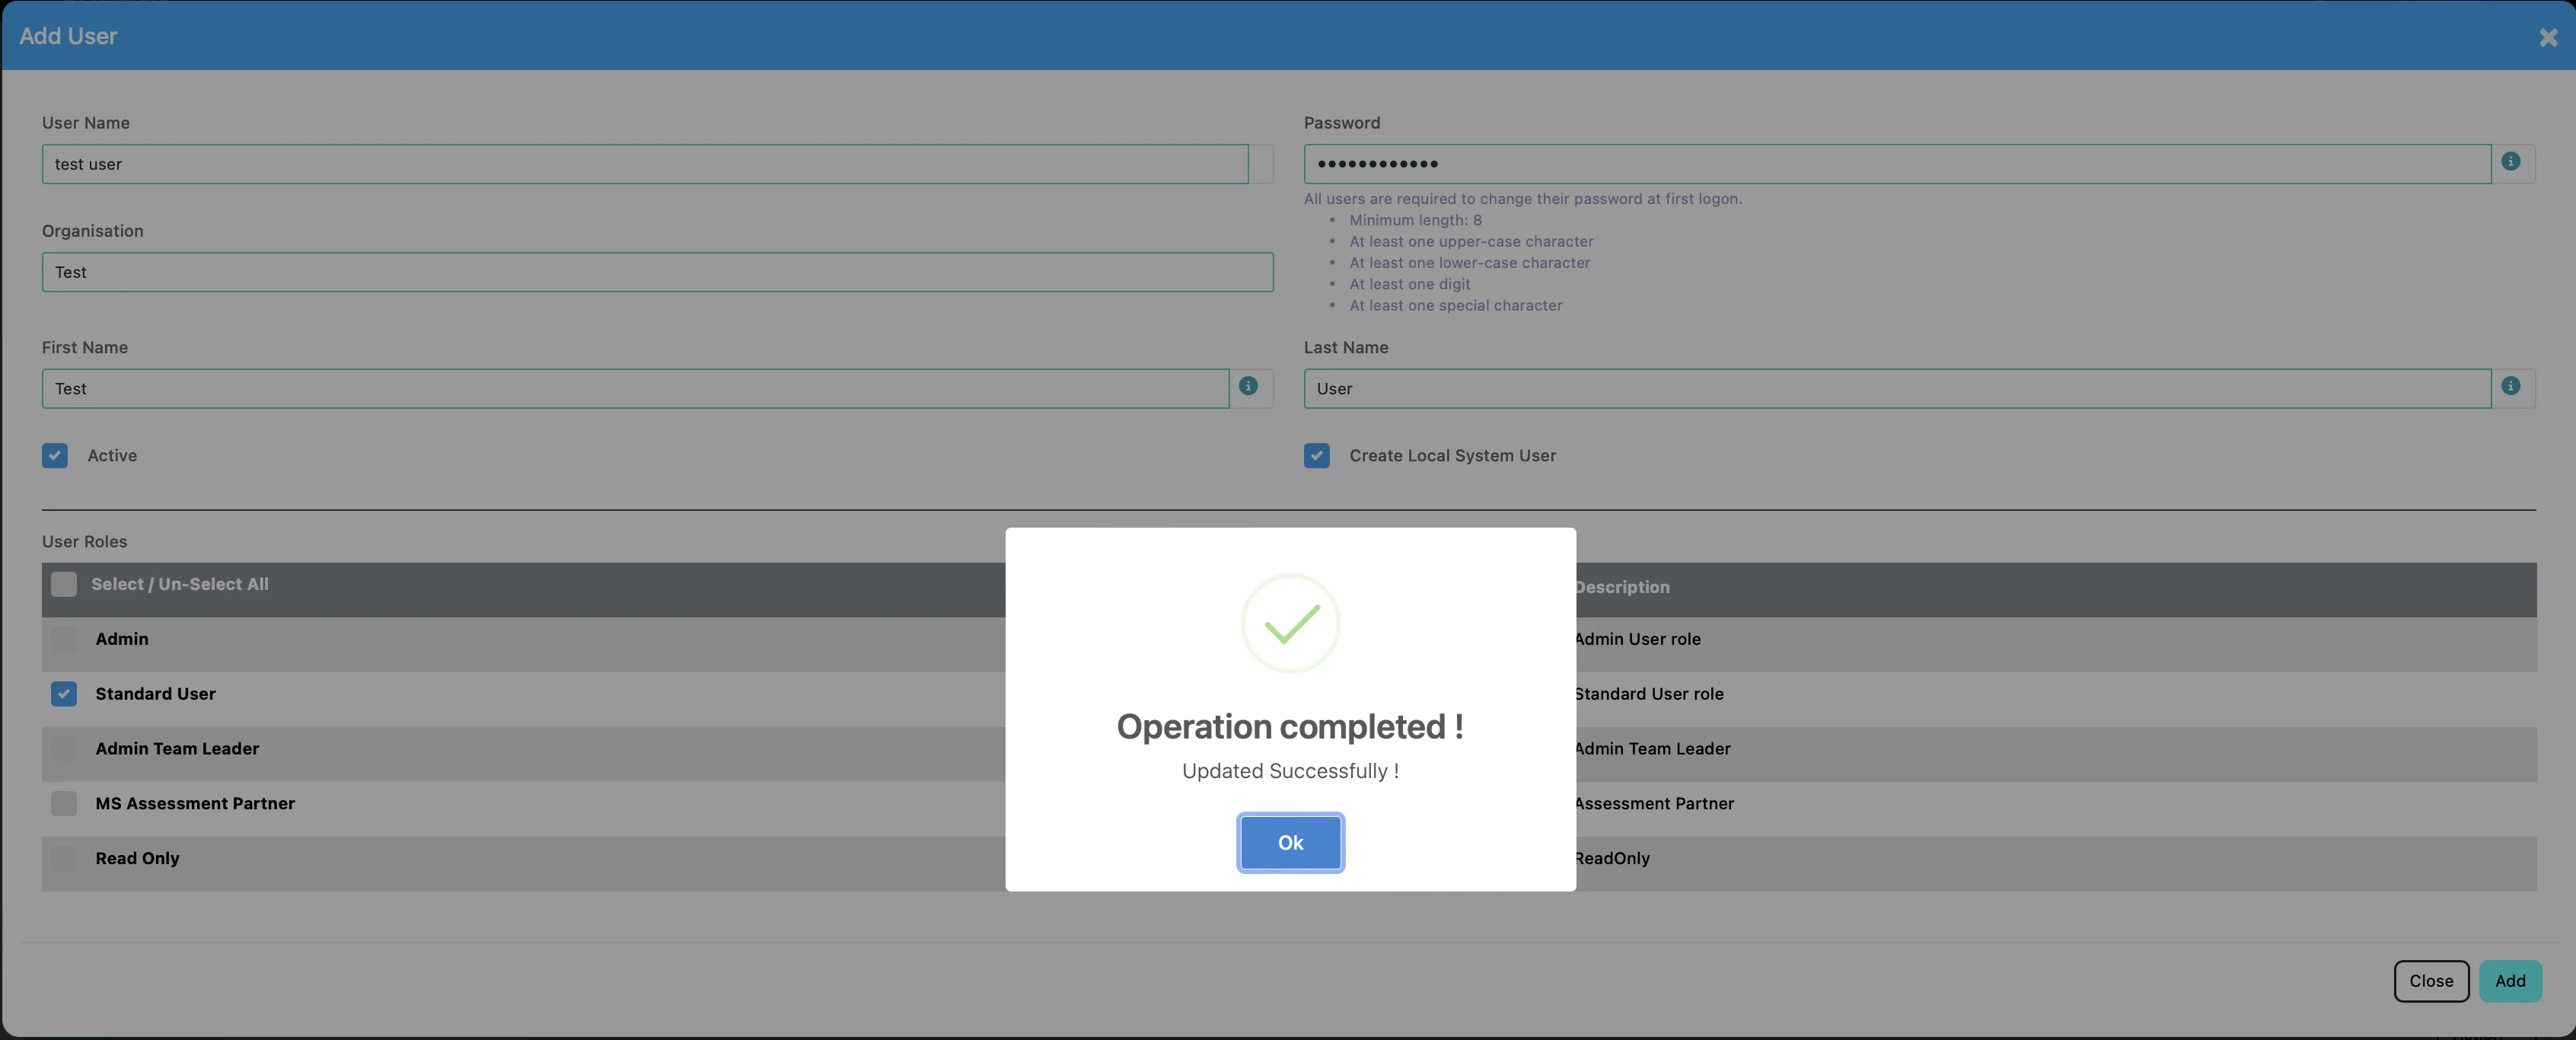
Add User
Clicking Add, will create the new user in Dr Migrate. This account can then be used to sign in.
Granting Azure User Access
In order to grant your users access to the Dr Migrate instance at the Azure level, grant your users reader access to the subscription that Dr Migrate is deployed into. This will allow your users to access the Dr Migrate Bastion
Prerequisites
This requires that you have been invited to the Dr Migrate SaaS platform, if you have not received you invite to your instance, please contact Altra Support
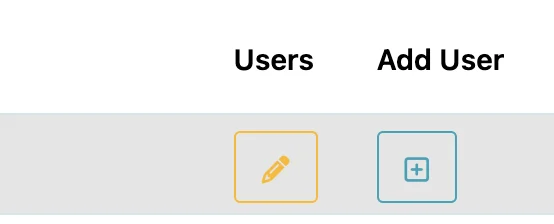
To Add a new user to an existing instance, click Add User from the Dr Migrate SaaS Platform
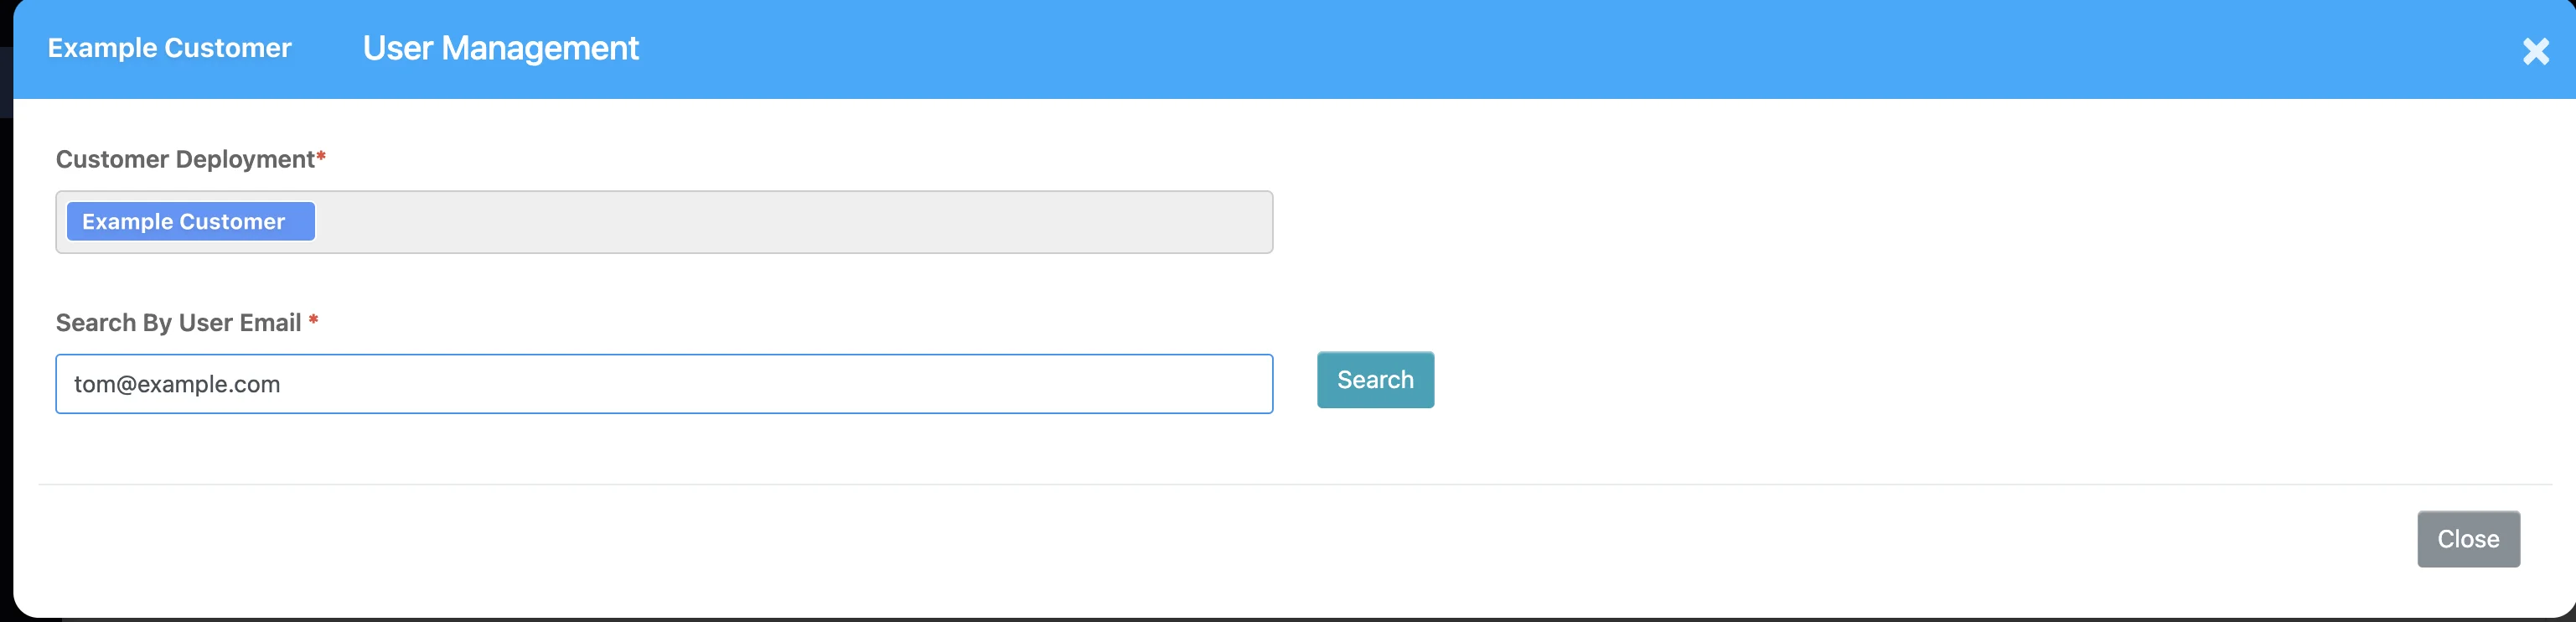
You will then be prompted to enter the email address of the user you wish to add, and click Search
Enter User Details
If the user entered does not have a active Dr Migrate SaaS account, you will be asked to populate the details for the user.
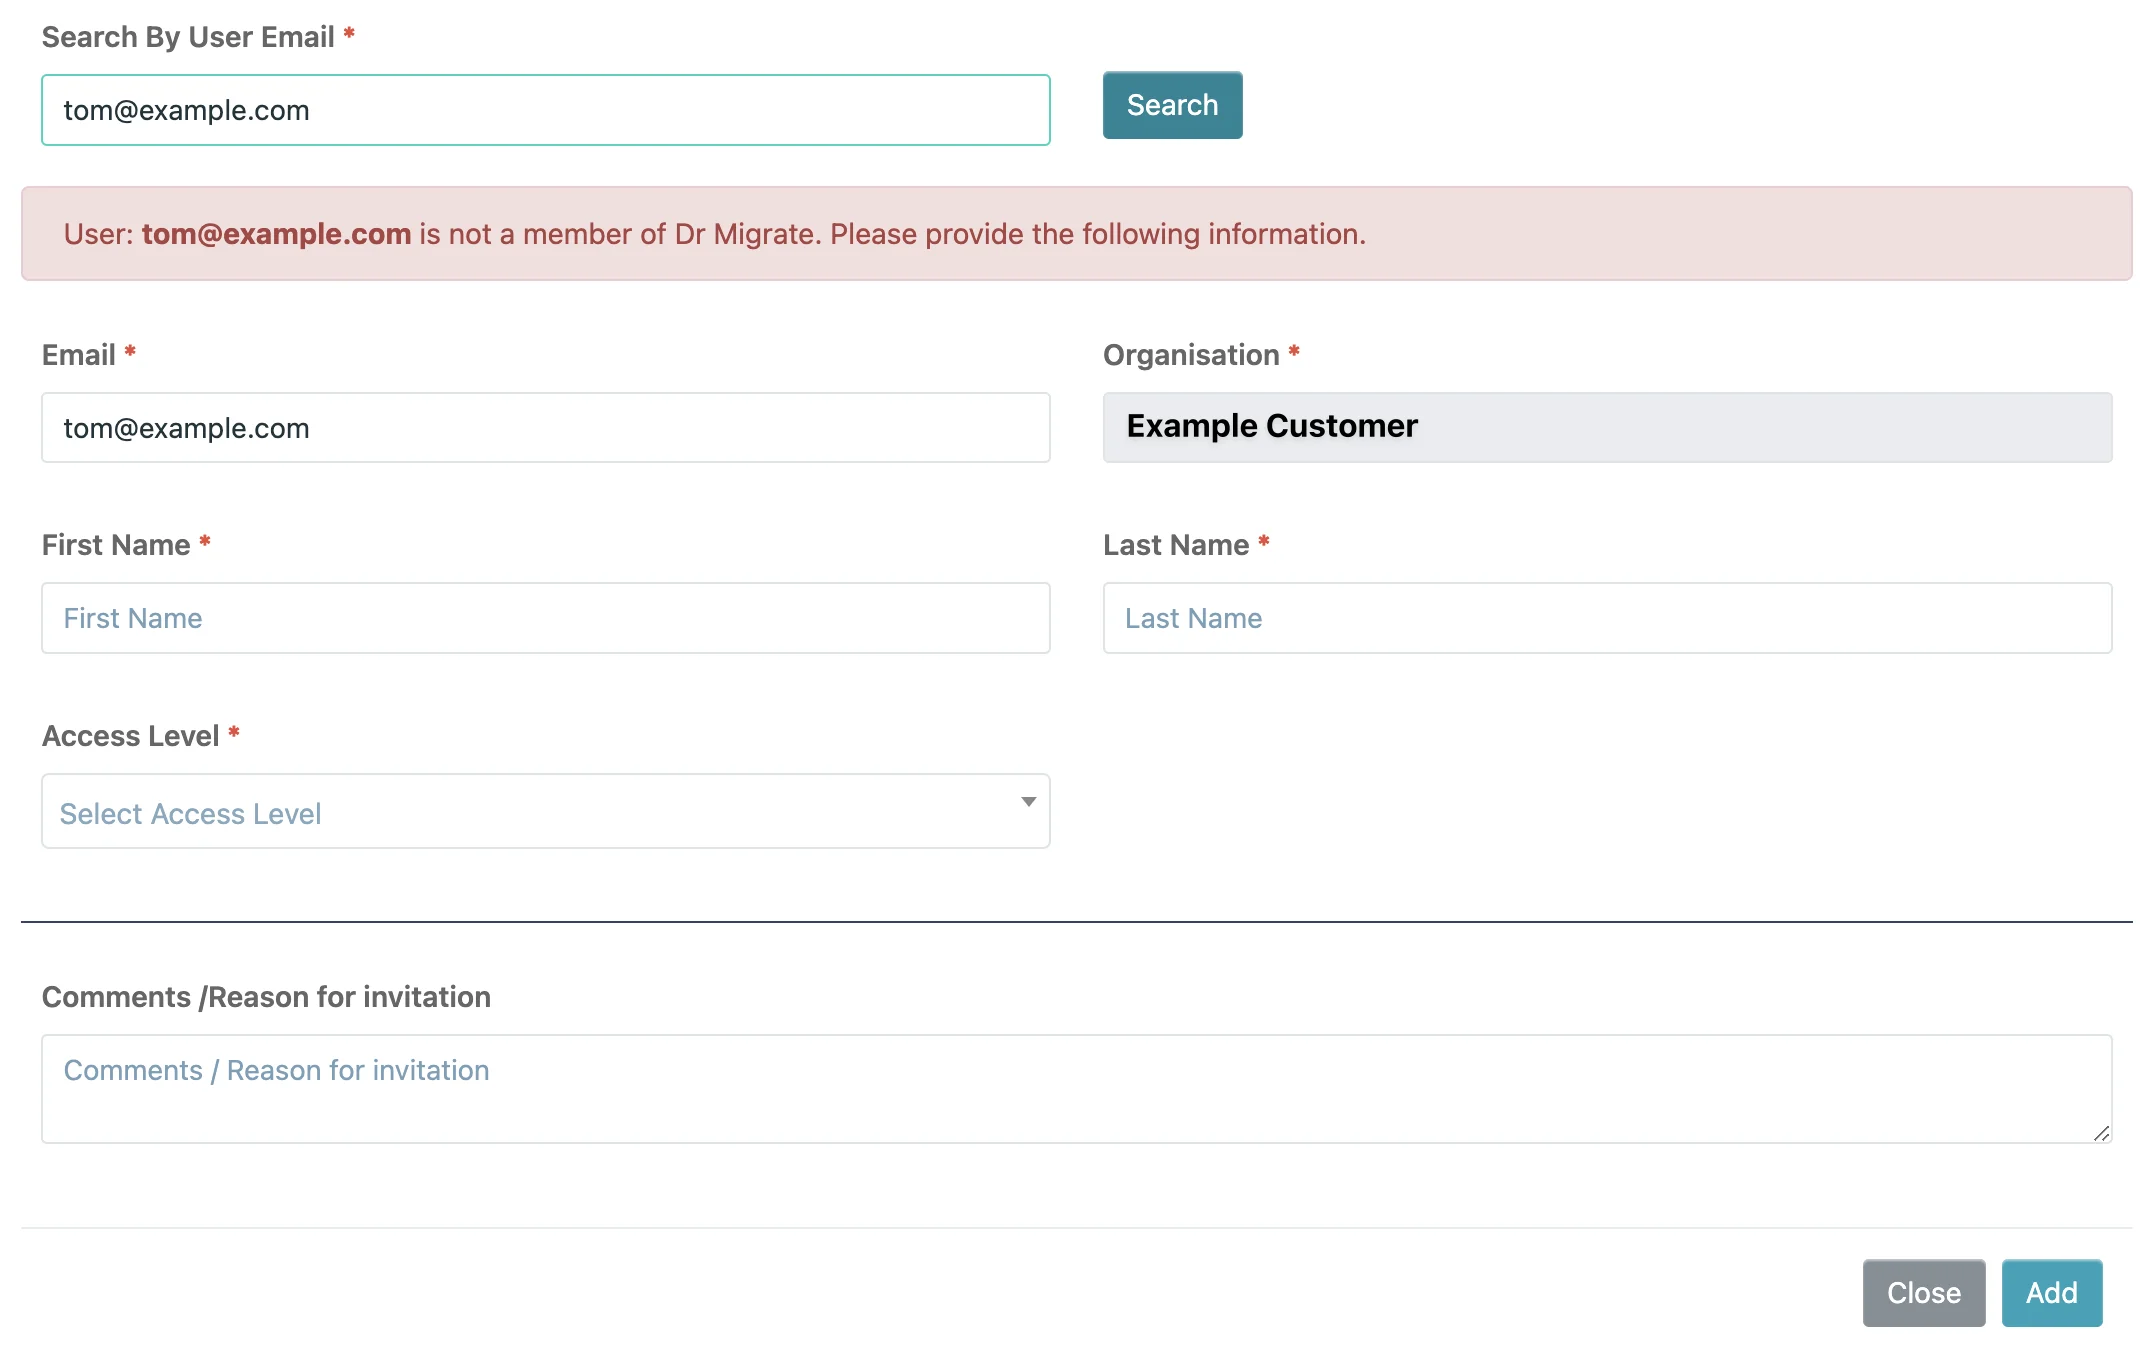
- The Organisation of the Customer is automatically selected, and can not be changed.
- Select the correct Access Level for this User - “Administrator” will allow the User to create additional users to access this Dr Migrate instance.
- Add in the User’s information:
- First Name, Last Name and Email Address
- If required, enter a reason for or comment on the invitation.
Activate New User
Click Add, to activate the user, and send the instance invite details.
The user will be sent and invite the email entered during user creation.
Emails wil come from “Microsoft Invitations”, and therefore may appear in Spam or Junk inboxes. Please be sure to check these inboxe’s.
Users simply need to accept the invite, to be granted access to their instance.
For more infomation on how to login to your SaaS instance, please see here
Patching
The Patching feature in Dr. Migrate allows administrators to manage automatic updates, ensuring that the application stays current with the latest patches and improvements. This section provides guidance on configuring and managing the Auto-Patching settings.
Environment Settings
The Environment Settings feature in Dr. Migrate allows administrators to define, manage, and customize the environments used within the organization. This setup enables a more granular workload analysis by allowing applications to be associated with specific environments, such as development, testing, or production.
Proper categorization and activation of environments help improve data organization, allowing Dr. Migrate to deliver precise insights based on environment-specific workloads.
Adding a New Environment
When you click on Add New Environment, a modal window appears where you can define the details of a new environment:
Environment Name
Enter a descriptive name for the environment (e.g., “Development,” “Staging,” “Production”).
Environment Type
Select the type of environment from the dropdown options to categorize it appropriately.
- Isolated Environment: For environments that require isolation from other environments.
- Normal: For standard environments with typical access and configuration settings.
Active
Use the toggle to set the environment as active or inactive.
Service Principal
Service Principals]L0 are leveraged to integrate to services within your Azure Tenant such as Azure Migrate in addition to performing automation tasks.
During the lifecycle of a deployment the Service Principal secret may need to be renewed.
Permissions Required
The least privileged approach to deployment required the following permissions:
- Application Admin
- Dr Migrate Admin
Azure Configuration
Find Existing Service Principal
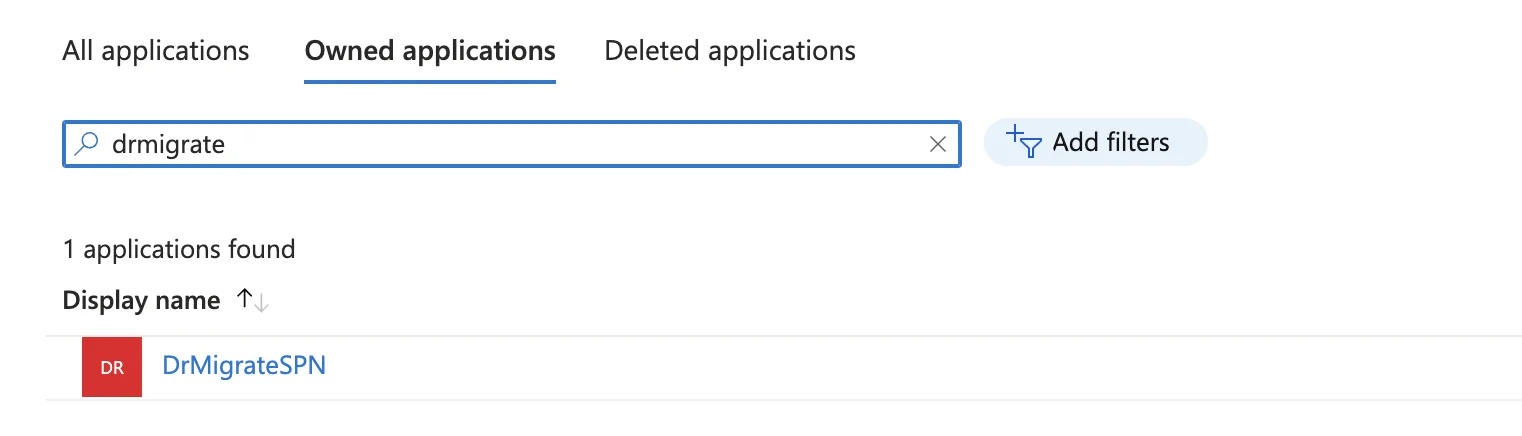
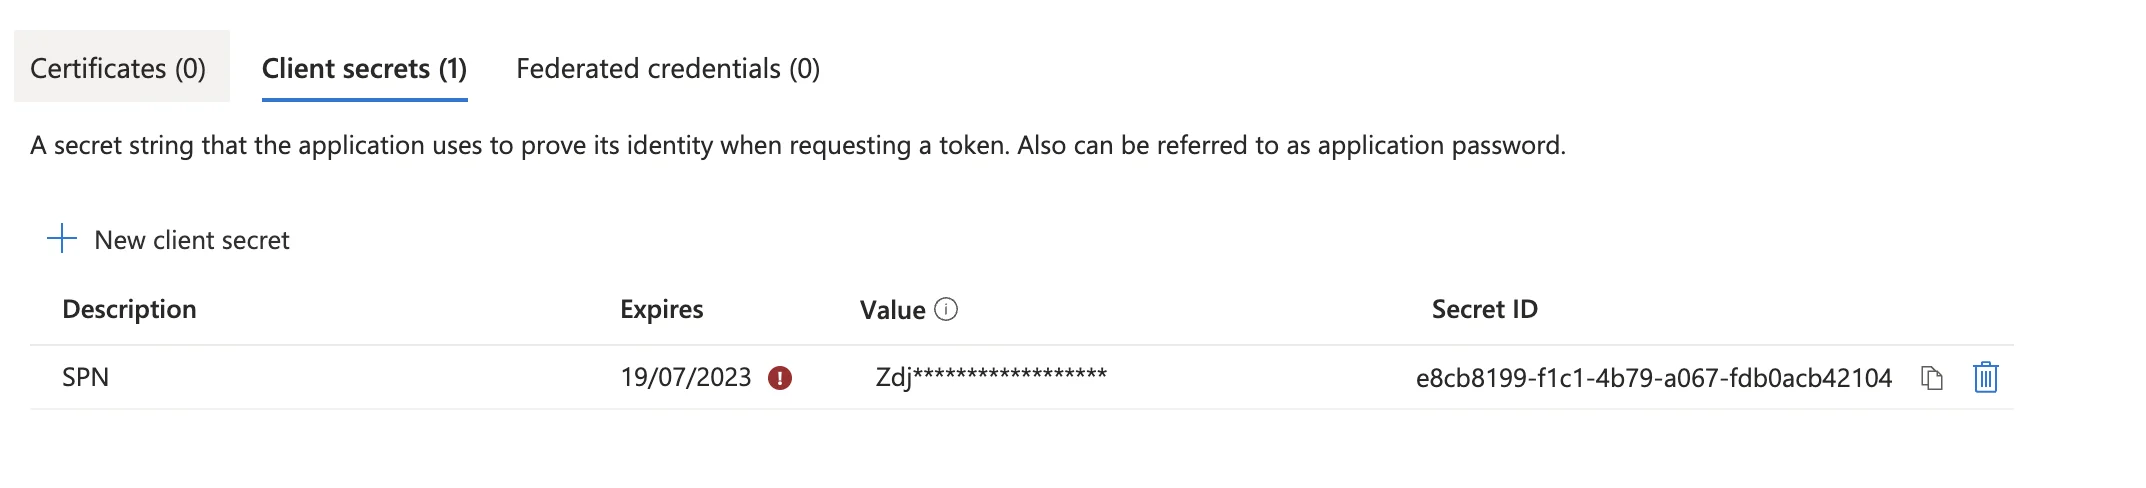
Locate the service principal that you configured during the initial setup of Dr Migrate, head to the Certificates and Secrets section for that Service Principal
Create New Client Secret
Find “+ New client secret” in the central section.
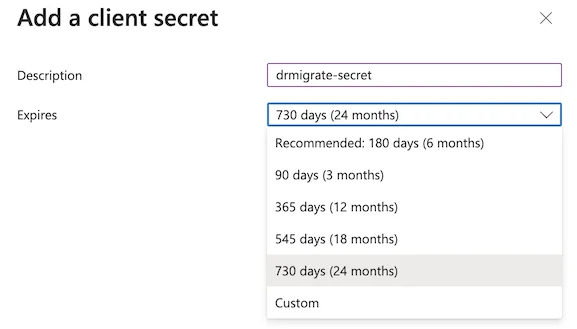
Set Client Secret Properties
It is recommended to name the secret “drmigrate-secret”.
It is recommended to select a secret expiry of 6 months.
Once settings have been allocated, click “Add” to proceed.
Dr Migrate Configuration
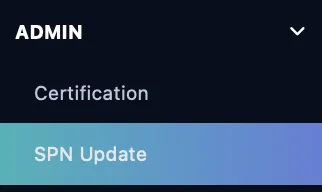
SPN Secret Admin
Login to your Dr Migrate instance, and Access the Admin section from the left hand menu
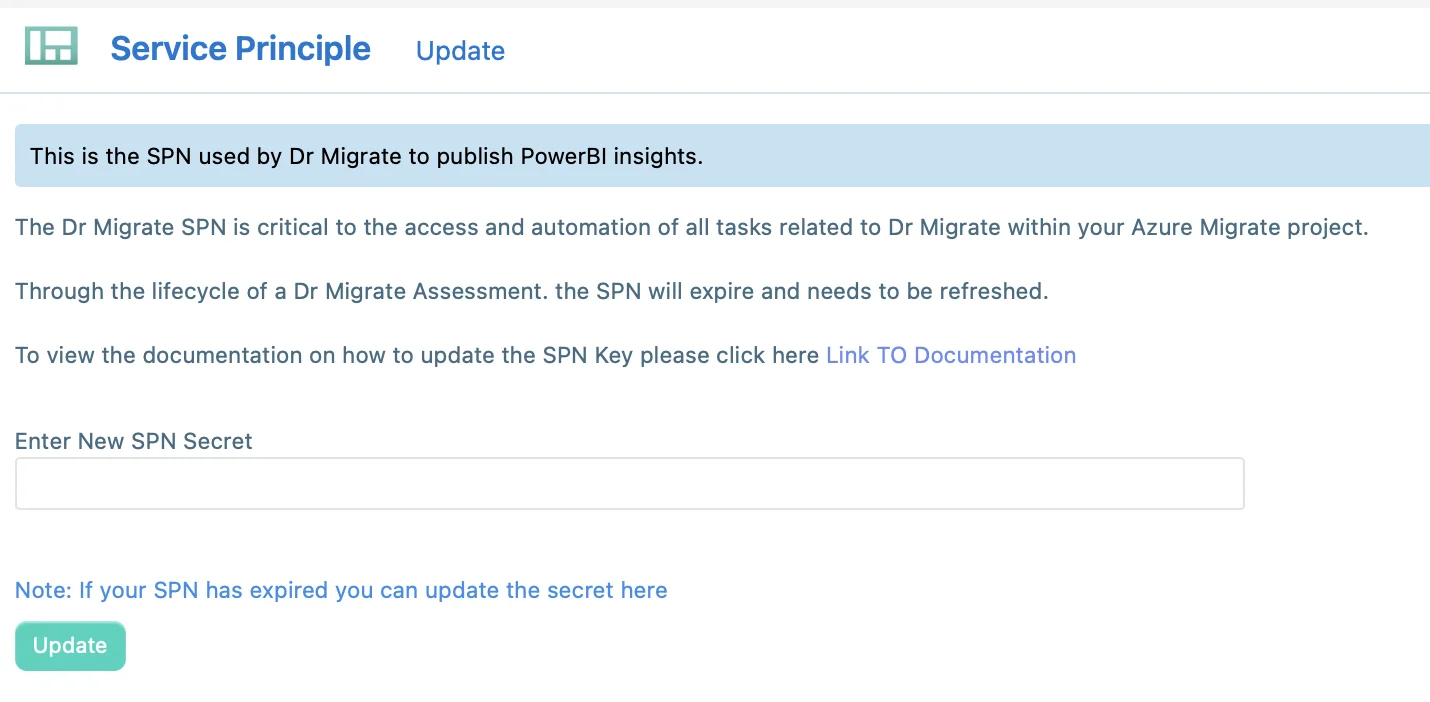
Update SPN Secret
Enter your SPN Secret here, then click Update. Dr. Migrate will then re-connect to Azure Migrate inside the tenancy at this point.
Data Reload
Overview
The Data Reload feature is designed to allow users to manually re-sync data from Azure Migrate This functionality is helpful when a full data refresh is necessary, such as after resolving an issue with data collection that requires updating the data in the system.
- The system performs a full data load when the “Reload Azure Migrate Discovery Data” button is clicked.
- This action will re-import the latest available data from Azure Migrate into your system, ensuring the data reflects the latest information post-re-sync.
Click on the Reload Azure Migrate Discovery Data button.
This action triggers a re-sync process, which may take a 1-2 hours, depending on the size and complexity of the data.
When to Use the Data Reload Feature
- Data Synchronization Issues: Use this feature if there have been known issues in the data collection process and a re-sync is required.
- Periodic Refresh: If regular updates are needed to keep the data current, especially after significant changes in the Azure Migrate systems.
- Troubleshooting: This can also be used as part of troubleshooting if inconsistencies in data are identified.