Insights

The Insights section of Dr Migrate is where key reports can be accessed directly through Power BI or generated as downloadable Powerpoint presentations.
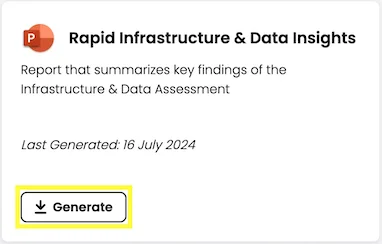
To generate a report Click on the “Generate” button to create a new report. Depending on the report type, it may take between 1-15 minutes.
| Report | Description | Available When |
|---|---|---|
| Rapid Infrastructure and Data Insights | Summarizes key findings including TCO and app detection insights | Azure Migrate is connected |
| Security Insights | Summarizes current security posture and quick wins to improve it | Azure Migrate is connected |
| Advanced Migration Insights | A comprehensive summary of your entire estate’s migration assessment | Application to Server & 6R Treatment mapping is completed |
How to view an Insights Power BI Report
The aforementioned reports are all published to Power BI and embedded to the Dr Migrate web server.
To view, follow these steps:
- Locate the “Online Reports” seciton
- Left click “See Report” of the report you wish to view.
- The report will open in a new tab.
How to generate downloadable Powerpoint Reports
To generate the Dr Migrate insights reports as downloadable Powerpoints, follow these steps:
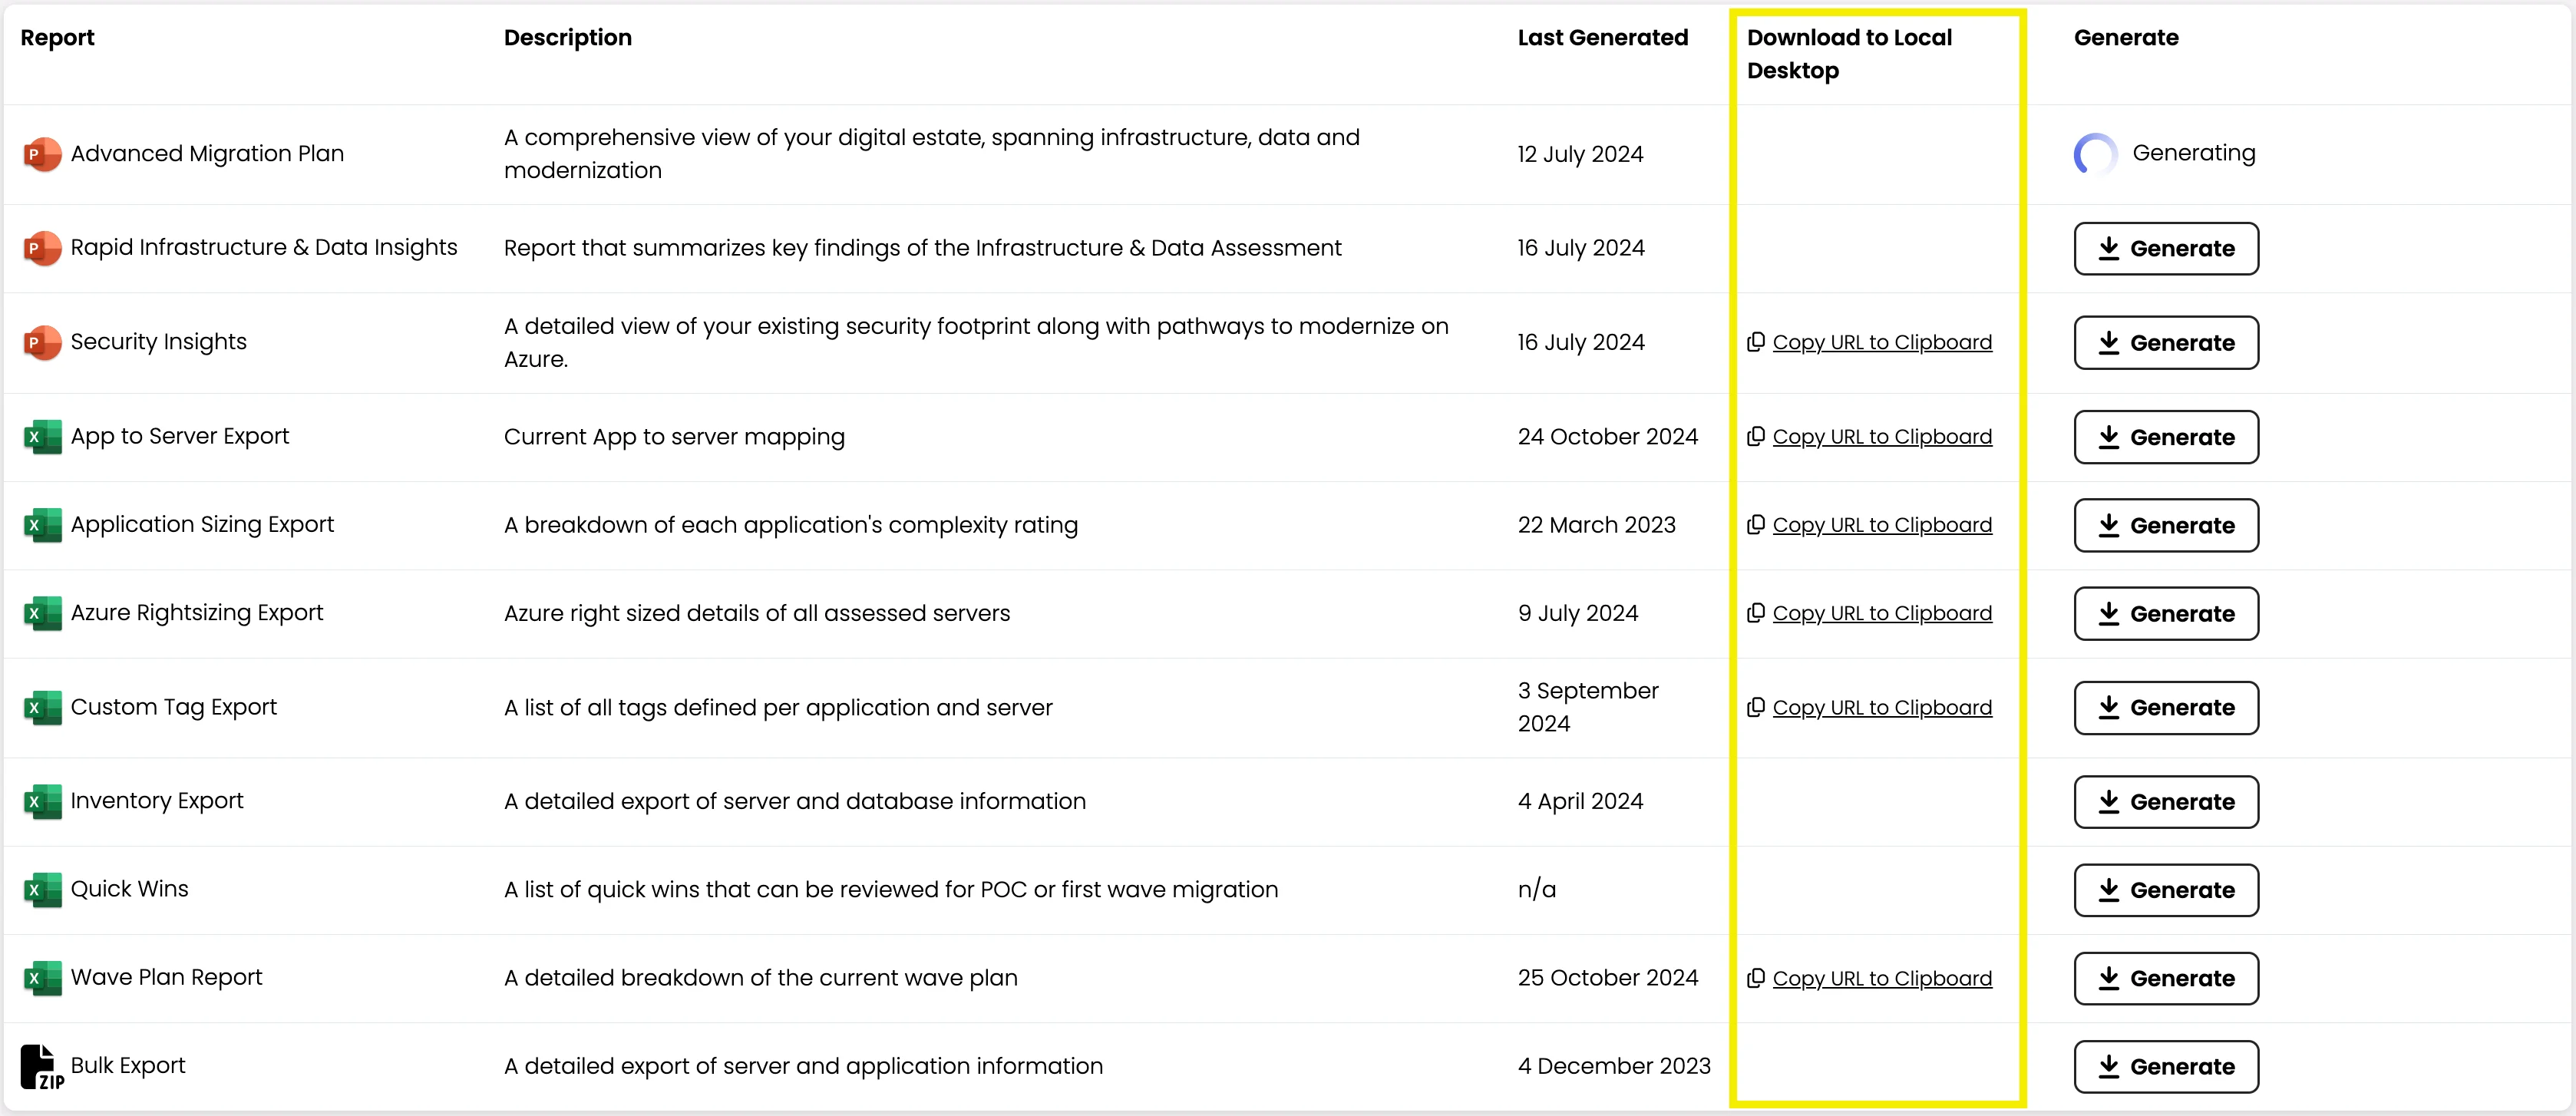
- Locate the “Downloadable Reports” section.
- Find the report you would like a Powerpoint for and click the “Generate” button.
- Reports typically take 5 to 10 minutes to generate.
- Once the report is generated, your download link will become available. Click ‘Copy URL to Clipboard’ and paste the link in a new browser window to download the report to your local machine. To see the last time a report was generated, check the “Last Generated” column.
How to generate downloadable Excel Reports
Dr Migrate provides a number of automated reports that summarize and detial many different facets of the migration assessment.
To generate an Excel report, follow these steps:
- Locate the “Additional Reports” section
- Find the report you would like an Excel for and click the “Generate” button.
- Reports typically take 50 to 10 minutes to generate.
- Once the report is generated, your download link will become available. Click ‘Copy URL to Clipboard’ and paste the link in a new browser window to download the report to your local machine. To see the last time a report was generated, check the “Last Generated” column.
This is the perfect starting place if you want an immediate view of modernization, right sizing and costing saving opportunities. A number of Excel PowerPoint reports are available.
There is a varied and ever expanding list of Excel reports within Dr Migrate, find a summary below.
| Report | Description | Download Type |
|---|---|---|
| AMM - ACR by Waves | Breakdown of ACR based on wave plan | Excel |
| App to Server Export | Current App to server mapping | Excel |
| Application Sizing Export | A breakdown of each application’s complexity rating | Excel |
| Azure Rightsizing Export | Azure right-sized details of all assessed servers | Excel |
| Custom Tag Export | A list of all tags defined per application and server | Excel |
| Intel POP Export | Intel artefact | Excel |
| Inventory Export | A detailed export of server and database information | Excel |
| Migration Factory Report | Potential Migration Factory opportunities | Excel |
| MS Specialist Report | Report of technology-focused opportunities | Excel |
| Quick Wins | A list of quick wins for POC or first wave migration | Excel |
| Wave Plan Report | A detailed breakdown of the current wave plan | Excel |
| Bulk Export | A detailed export of server and app information | Zip |
Exporting Power BI Report Elements
Dr Migrate utilises Power BI to display its reports. As such, some elements from Power BI report can be exported.
For more information on how to export data from the Dr Migrate Report, please see here
Once the data has been downloaded, it will be placed in the Downloads folder.
Downloading Report Extracts
Report extracts can be downloaded from the Dr Migrate VM using the File Management function.
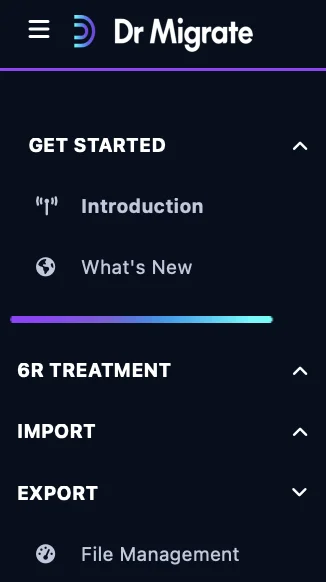
Access File Management
File Management can be found in the burger menu, on the left hand side.
Upload File to Dr Migrate Storage
Click the Upload from DRM VM to Storage Account tab

Click the Upload file Icon, search for the file you wish to upload, click submit. The file will be uploaded to the storage account.
Download from Dr Migrate Storage
Click the Download to DrM VM tab. Your Dr Migrate files can be downloaded here and saved to your own desktop, using the copy icon.
