Admin

The Admin section provides access to key administrative functions
Available Features
User Management
The process for logging in and managing users differs for Dr Migrate depending on whether Marketplace or SaaS is in use.
Users with the admin role have the ability to add new users to existing deployments.
Management Options
Login Methods Comparison
| Marketplace Login | SaaS Login | |
|---|---|---|
| Access Method | Azure Bastion | Web Browser |
| Authentication | VM credentials specified during deployment | Azure AD B2B with MFA |
| Prerequisites | Azure subscription access with appropriate permissions | Email invitation acceptance and MFA setup |
| URL | Access through Azure Portal | Dr Migrate Portal |
Add Users
Marketplace Deployment
Prerequisites
The user account created during deployment has the required rights to create new users.
Access User Management
Login to the Dr Migrate admin console and navigate to user management under admin.

User Management Interface
Configure User Details
Enter the user details and ensure Active and Create Local System User are selected.
Password Requirements:
- Minimum length: 8 characters
- At least one uppercase letter
- At least one lowercase letter
- At least one digit
- At least one special character
Select User Role
Choose the appropriate role:
| Role | Description |
|---|---|
| Admin | Full access including user management |
| Standard User | Can change settings and view reports |
| Admin Team Leader | Can manage users and view reports |
| MS Assessment Partner | Can view reports and manage users |
| Read Only | Can only view reports |
Complete Setup
Click Add to create the user. They will be prompted to change their password on first login.
Grant Azure Access
Grant users reader access to the subscription containing Dr Migrate to enable Bastion access.
SaaS Deployment
Prerequisites
You must have an invitation to the Dr Migrate Cloud platform. Contact Altra Support if needed.
Initiate User Addition
Click Add User from the Dr Migrate Cloud Platform
Enter User Email
Provide the email address for the new user
Configure User Details
For new users:
- Organization is automatically selected
- Choose appropriate Access Level
- Enter user information (First Name, Last Name, Email)
- Add optional invitation comments
Send Invitation
Click Add to send the invitation email
Logging On
Marketplace Deployment
Prerequisites
- Azure subscription access with appropriate permissions
- VM credentials provided by your administrator
Access Azure Portal
- Log in to the Azure Portal
- Navigate to your Dr Migrate VM
- Select “Connect” and choose “Bastion”
Connect to VM
- Enter your VM credentials
- Click “Connect”
Access Dr Migrate
- Open your web browser
- Navigate to the Dr Migrate web interface
- Log in with your credentials
SaaS Deployment
Prerequisites
- Email invitation from Dr Migrate
- Active O365 Mailbox
- MFA setup completed
Accept Invitation
- Open the invitation email
- Click the invitation link
- Complete the authentication process
First-Time Login
- Navigate to Dr Migrate Portal
- Click “Sign in”
- Use your O365 credentials
- Complete MFA if prompted
Subsequent Logins
- Navigate to Dr Migrate Portal
- Click “Sign in”
- Use your O365 credentials
Patching
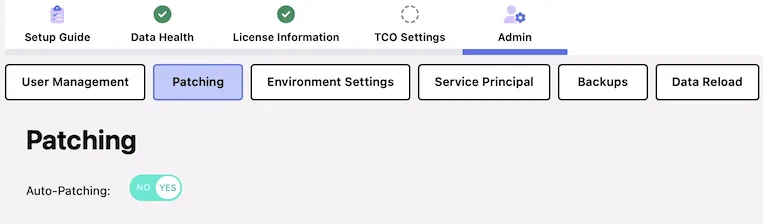
Auto-Patching Configuration Interface
Environment Settings
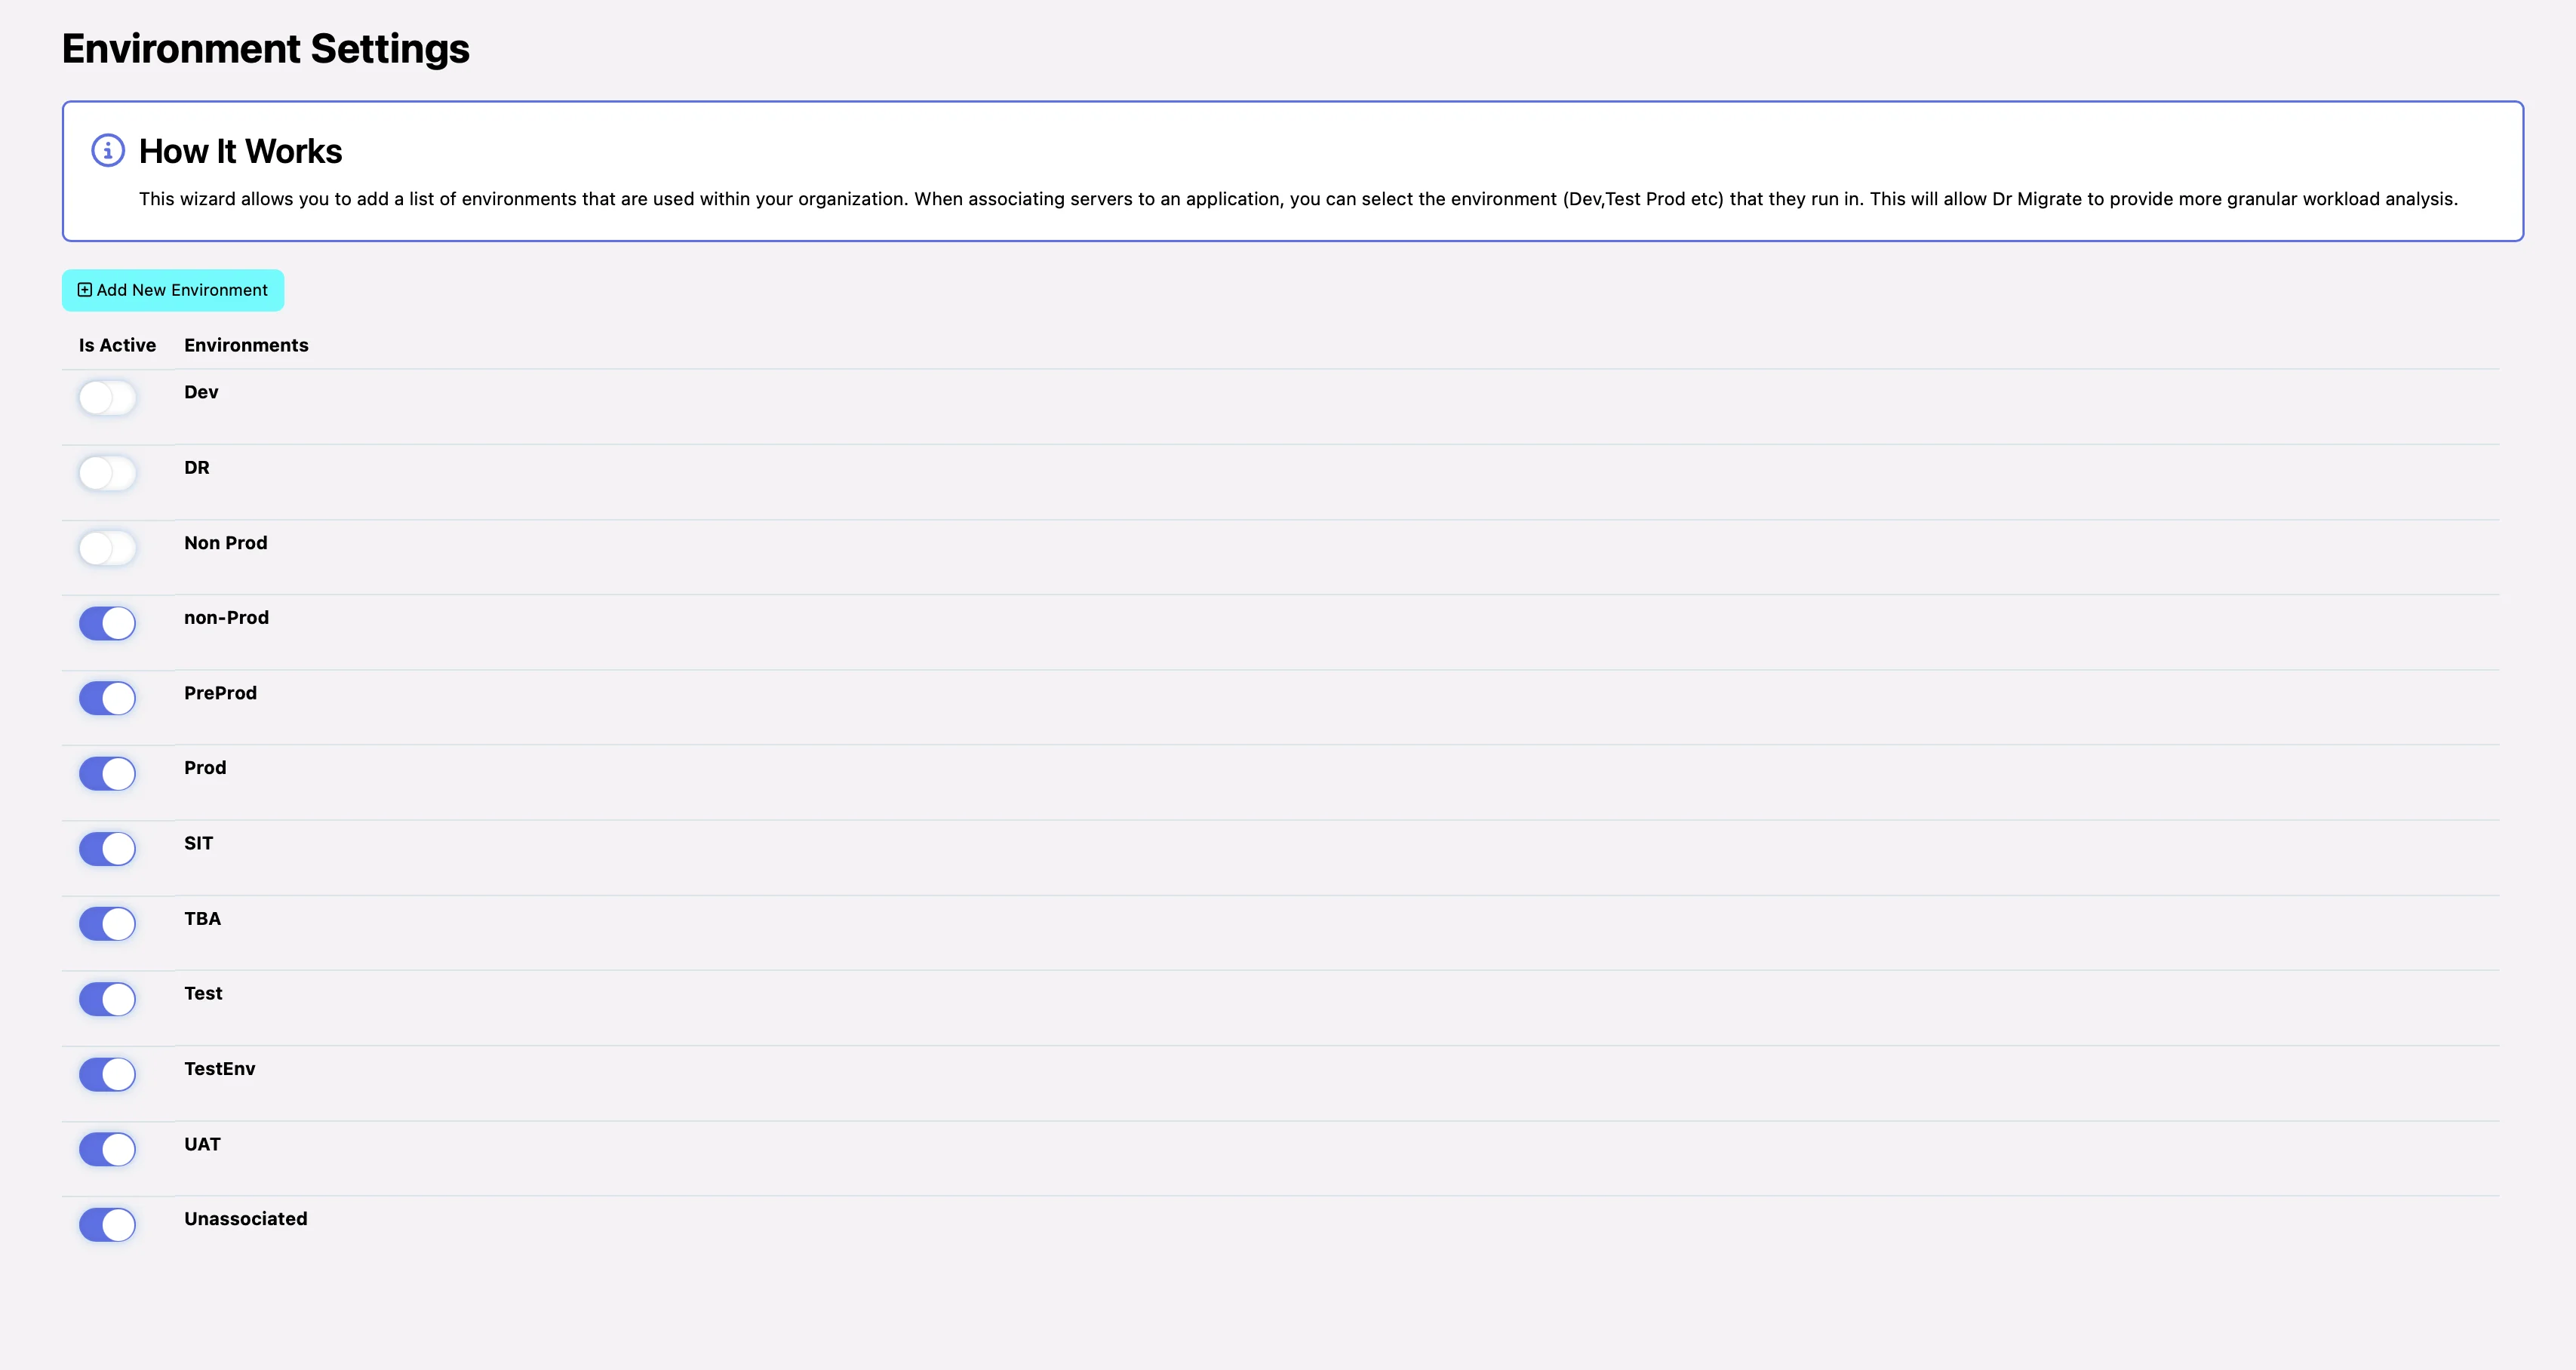
Environment Configuration Interface
Environment Settings allow you to define and manage the environments used within your organization, enabling granular workload analysis.
Adding Environments
Open Environment Creation
Click Add New Environment to open the configuration modal
Define Environment
- Enter a descriptive name (e.g., “Development”, “Staging”)
- Select environment type:
- Isolated Environment: For environments requiring isolation
- Normal: For standard environments
- Set active status using the toggle
Save Configuration
Click Save to create the new environment
Service Principal
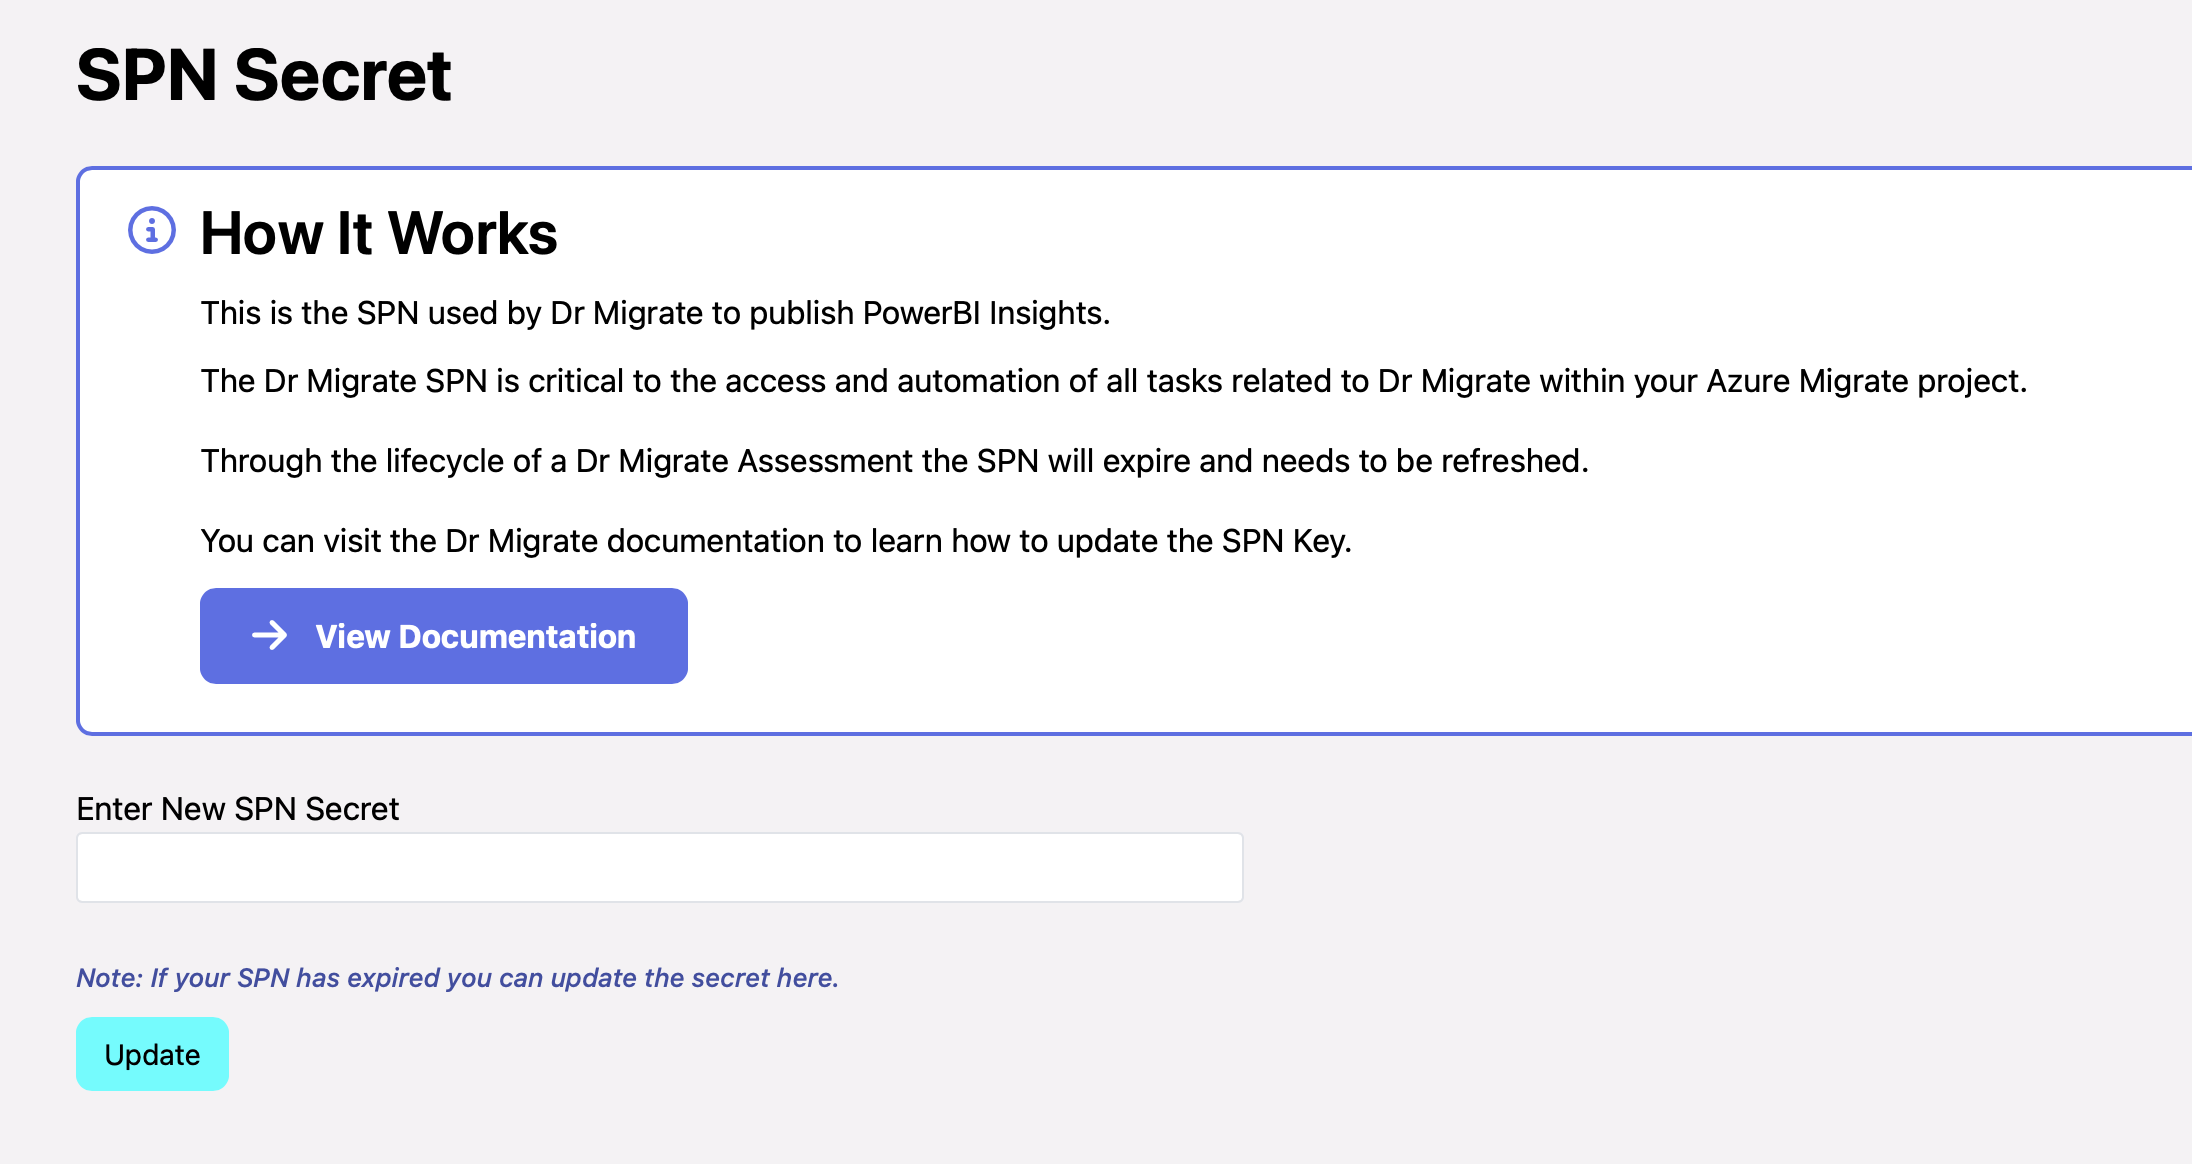
During the lifecycle of your Dr Migrate instance, the Service Principal Secret that controls communication with Azure Migrate will expire. This is due to the lifecycle controls that are chosen during prerequisites.
When your SPN Secret expires, it affects several key elements of Dr Migrate, such as report generation and data sync, and as such should be refreshed to ensure that your Azure Migrate project stays connected.
Required Permissions
- Application Admin
- Dr Migrate Admin
Update Service Principal Secret
Locate Service Principal
Open Azure Portal Navigate to your existing Service Principal
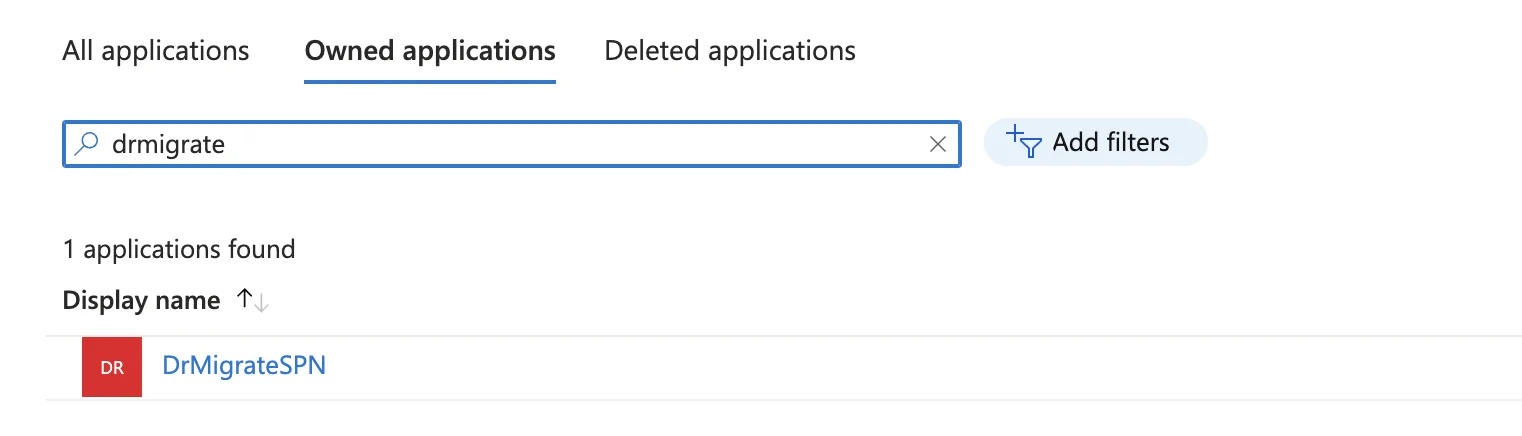
Locate your Service Principal
Access Secrets
Select Certificates and Secrets from the left menu
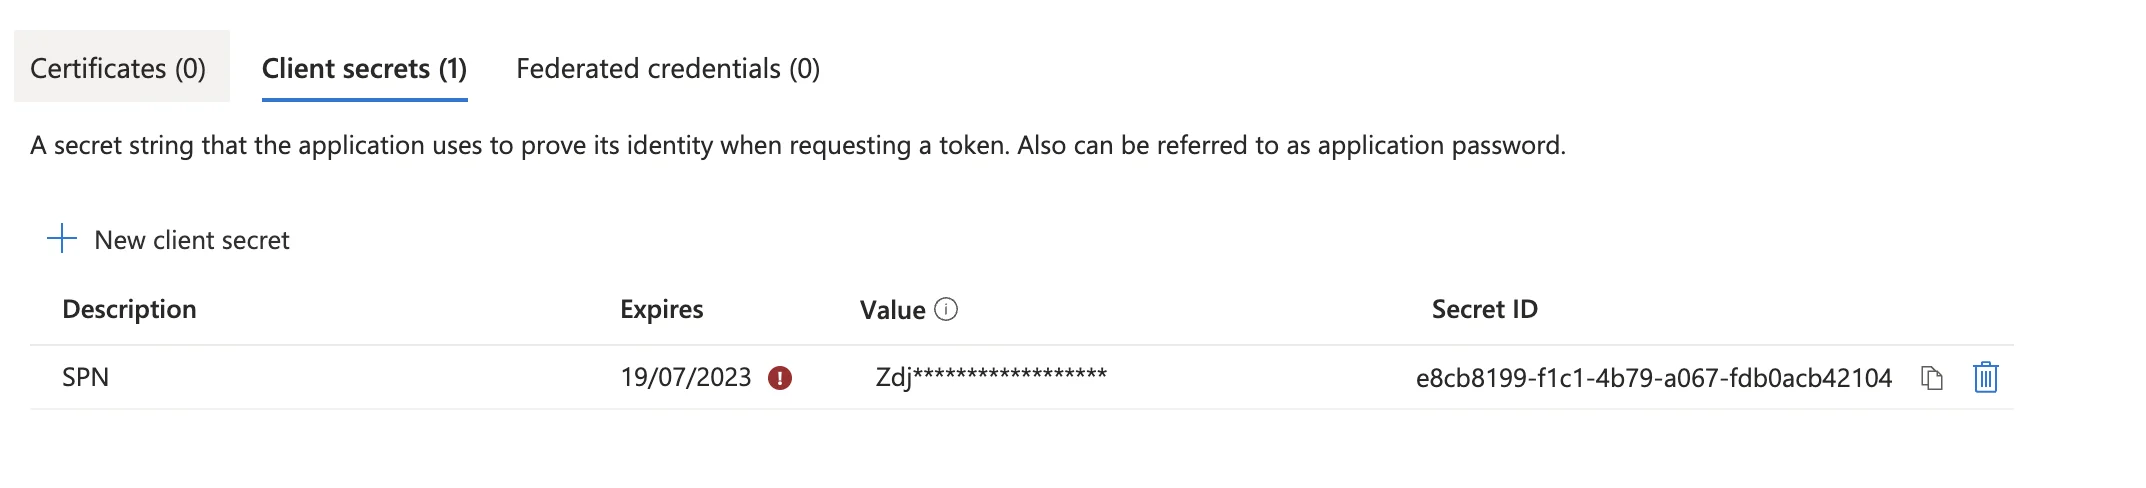
Access Certificates and Secrets
Create New Secret
Click “New client secret” Name the secret “drmigrate-secret” Set expiry to 6 months (recommended)
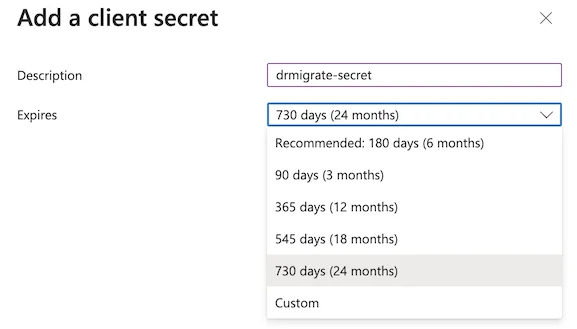
Create new client secret
Access Dr Migrate Admin
Log into Dr Migrate Navigate to the Admin section
Update SPN Secret
Locate the Service Principal section Enter the new secret value
Update SPN Secret in Dr Migrate
Complete Update
- Click the Update button
- Wait for the reconnection process to complete
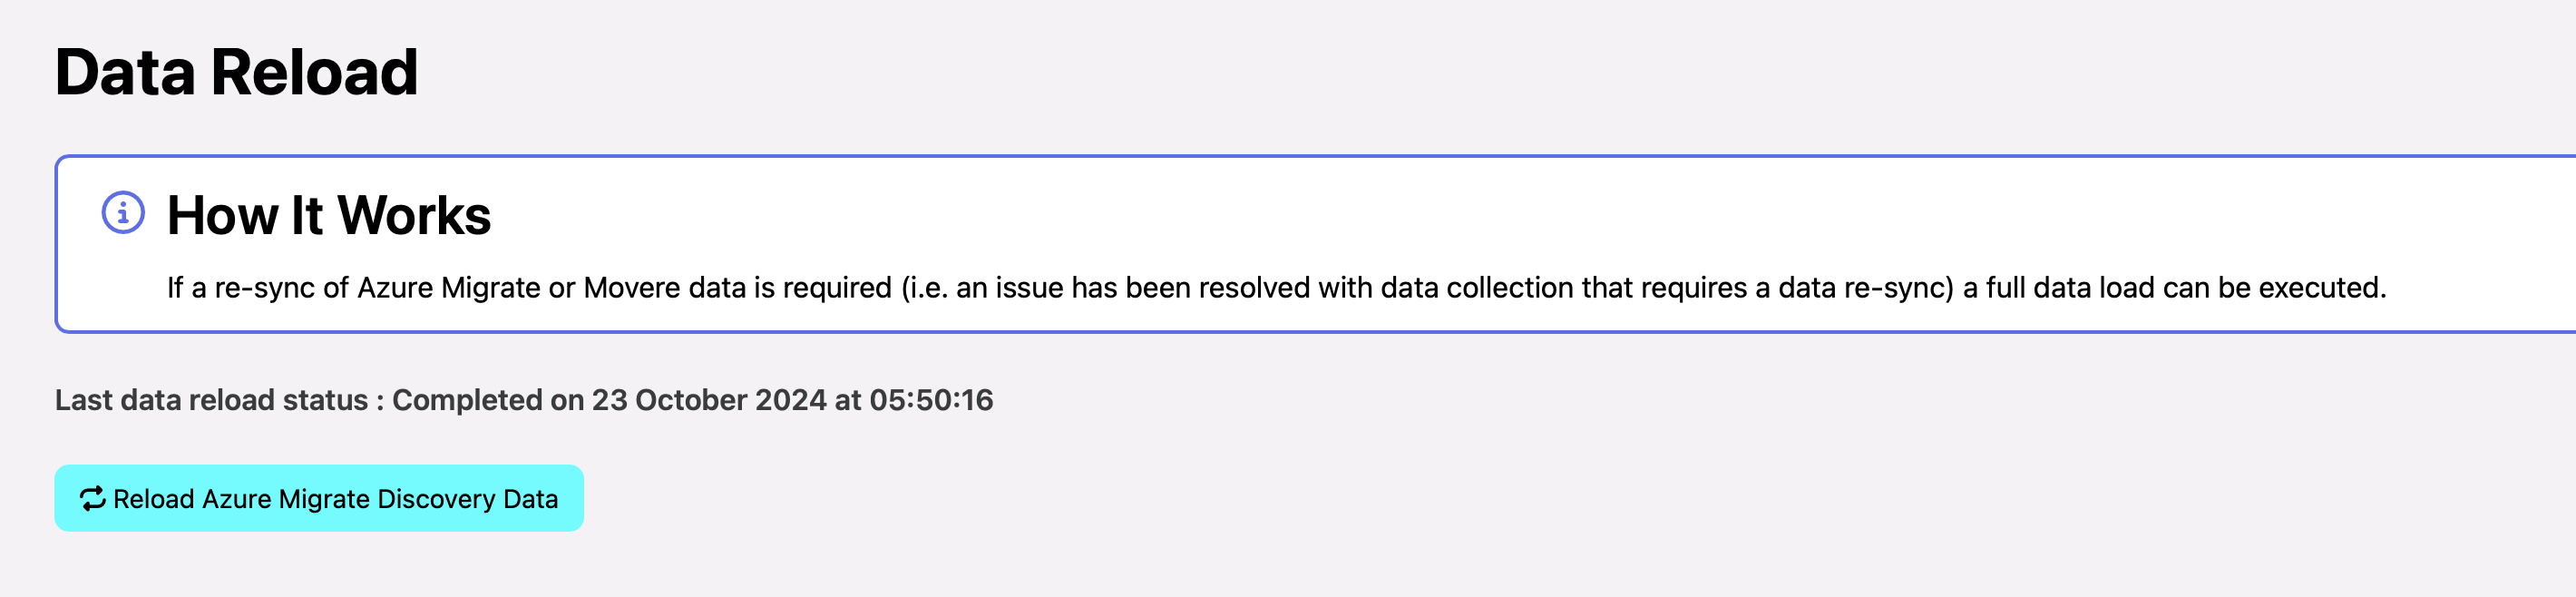
Data Reload
When to Use Data Reload
- After resolving data collection issues
- For periodic data refresh
- During troubleshooting of data inconsistencies