Managing Scope
In Dr Migrate, you can mark applications or servers as “out of scope” for an assessment. This feature allows you to exclude specific items from the Total Cost of Ownership (TCO) and overall count calculations. The handling of out-of-scope items differs between live reports and downloadable reports.
How to Scope Applications or Servers
Applications or servers can be marked as out of scope in the Inventory section of Advanced mode.
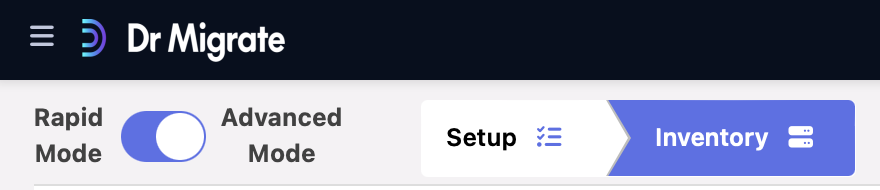
Even when generating a Rapid report, you must use the advanced mode to set the scope:
- Switch to Advanced mode to mark applications or servers as out of scope.
- Toggle back to Rapid mode once the changes have been made.
Methods of Marking as Out of Scope
You can make applications and servers as out of scope using one of the two methods:
Set Scope Via the UI
You can choose to set the scope at an application or server level using the toggle provided.
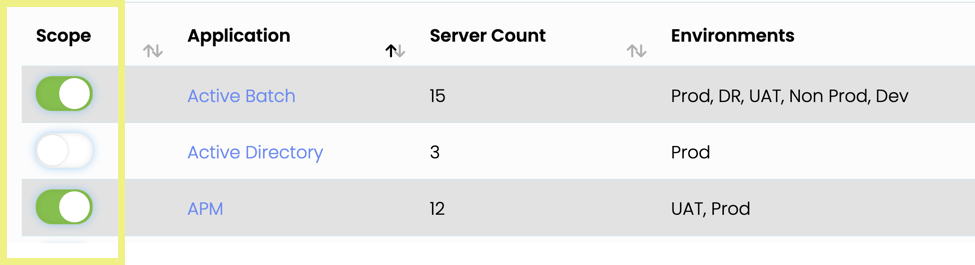
Set Application Level Scope
The application and all associated servers will be marked as out of scope.
- From Advanced Mode select Inventory > Applications and set the toggle as desired.
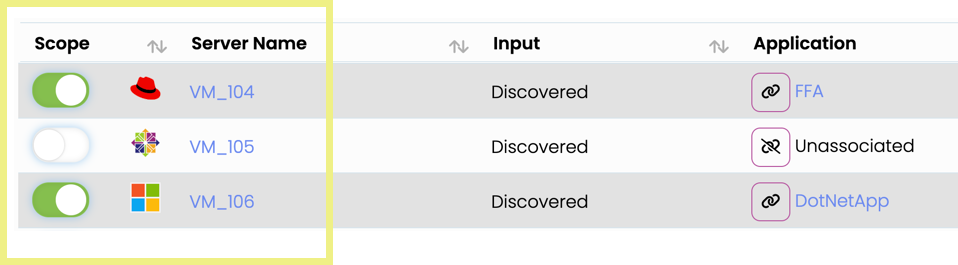
Set Server Level Scope
You can set scope at an individual server level.
- From Advanced Mode select Inventory > Servers and set the toggle as desired.
Set Scope Using Bulk Upload
You can use the bulk upload method to mark servers as out scope.
- From Advanced Mode select Inventory > CMDB > Inventory Upload
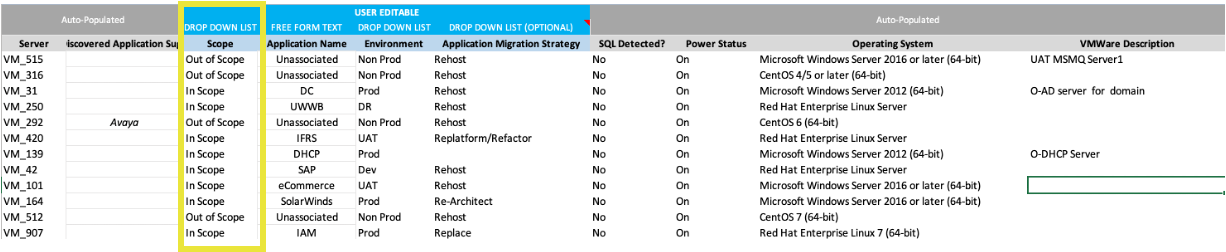
- Select the Download Pre-Filled Template button. An XLS listing all discovered servers will generate.
Assign Temporary Application Name
Change the application name to “Not Mapped”, or any other value, that is not “Unassociated” this will allow Dr Migrate to assign servers to this application.
Dr Migrate supports an Iterative process of information addition, multiple uploads can be made in order to fully capture the application to server mapping.
- Simple set the scope as desired for each server.
- Follow the Upload Template steps on screen. Once uploaded Scope will be updated. You can review the upload results by clicking Inventory > Servers.
Filter By Scope
Once scope has been set, depending on the type of report you want to view follow these steps to ensure that your assessment accurately reflects the desired scope of applications and servers.
Downloadable PPT Reports
- Open the Insights chevron, and click Generate on a PPT.
- A popup will appear asking you to confirm scope for this report.
- Select as desired and the report will be genereated.
Live Reports
To view live reports filtered by scope use the filter option available in the report interface.
The metrics and calculations on the page will adjust to reflect the selected scope.
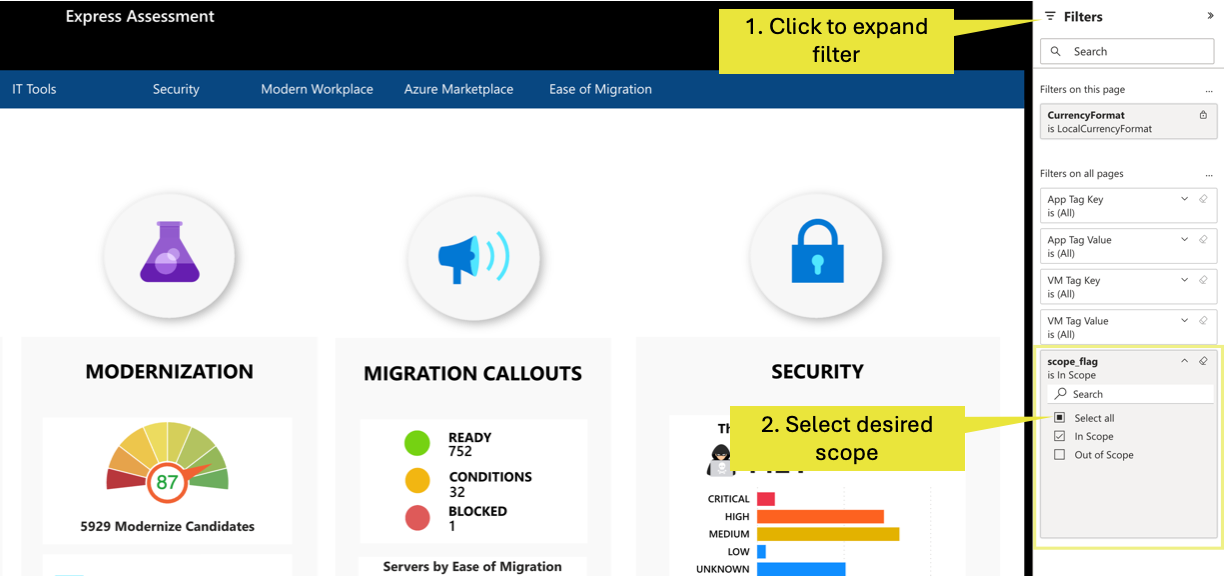
Rapid Report
- On the right hand side expand the Filter pane.
- Select the desired scope.
Advanced Report
- Open the report and use the Scope filter located on the top right hand corner.
