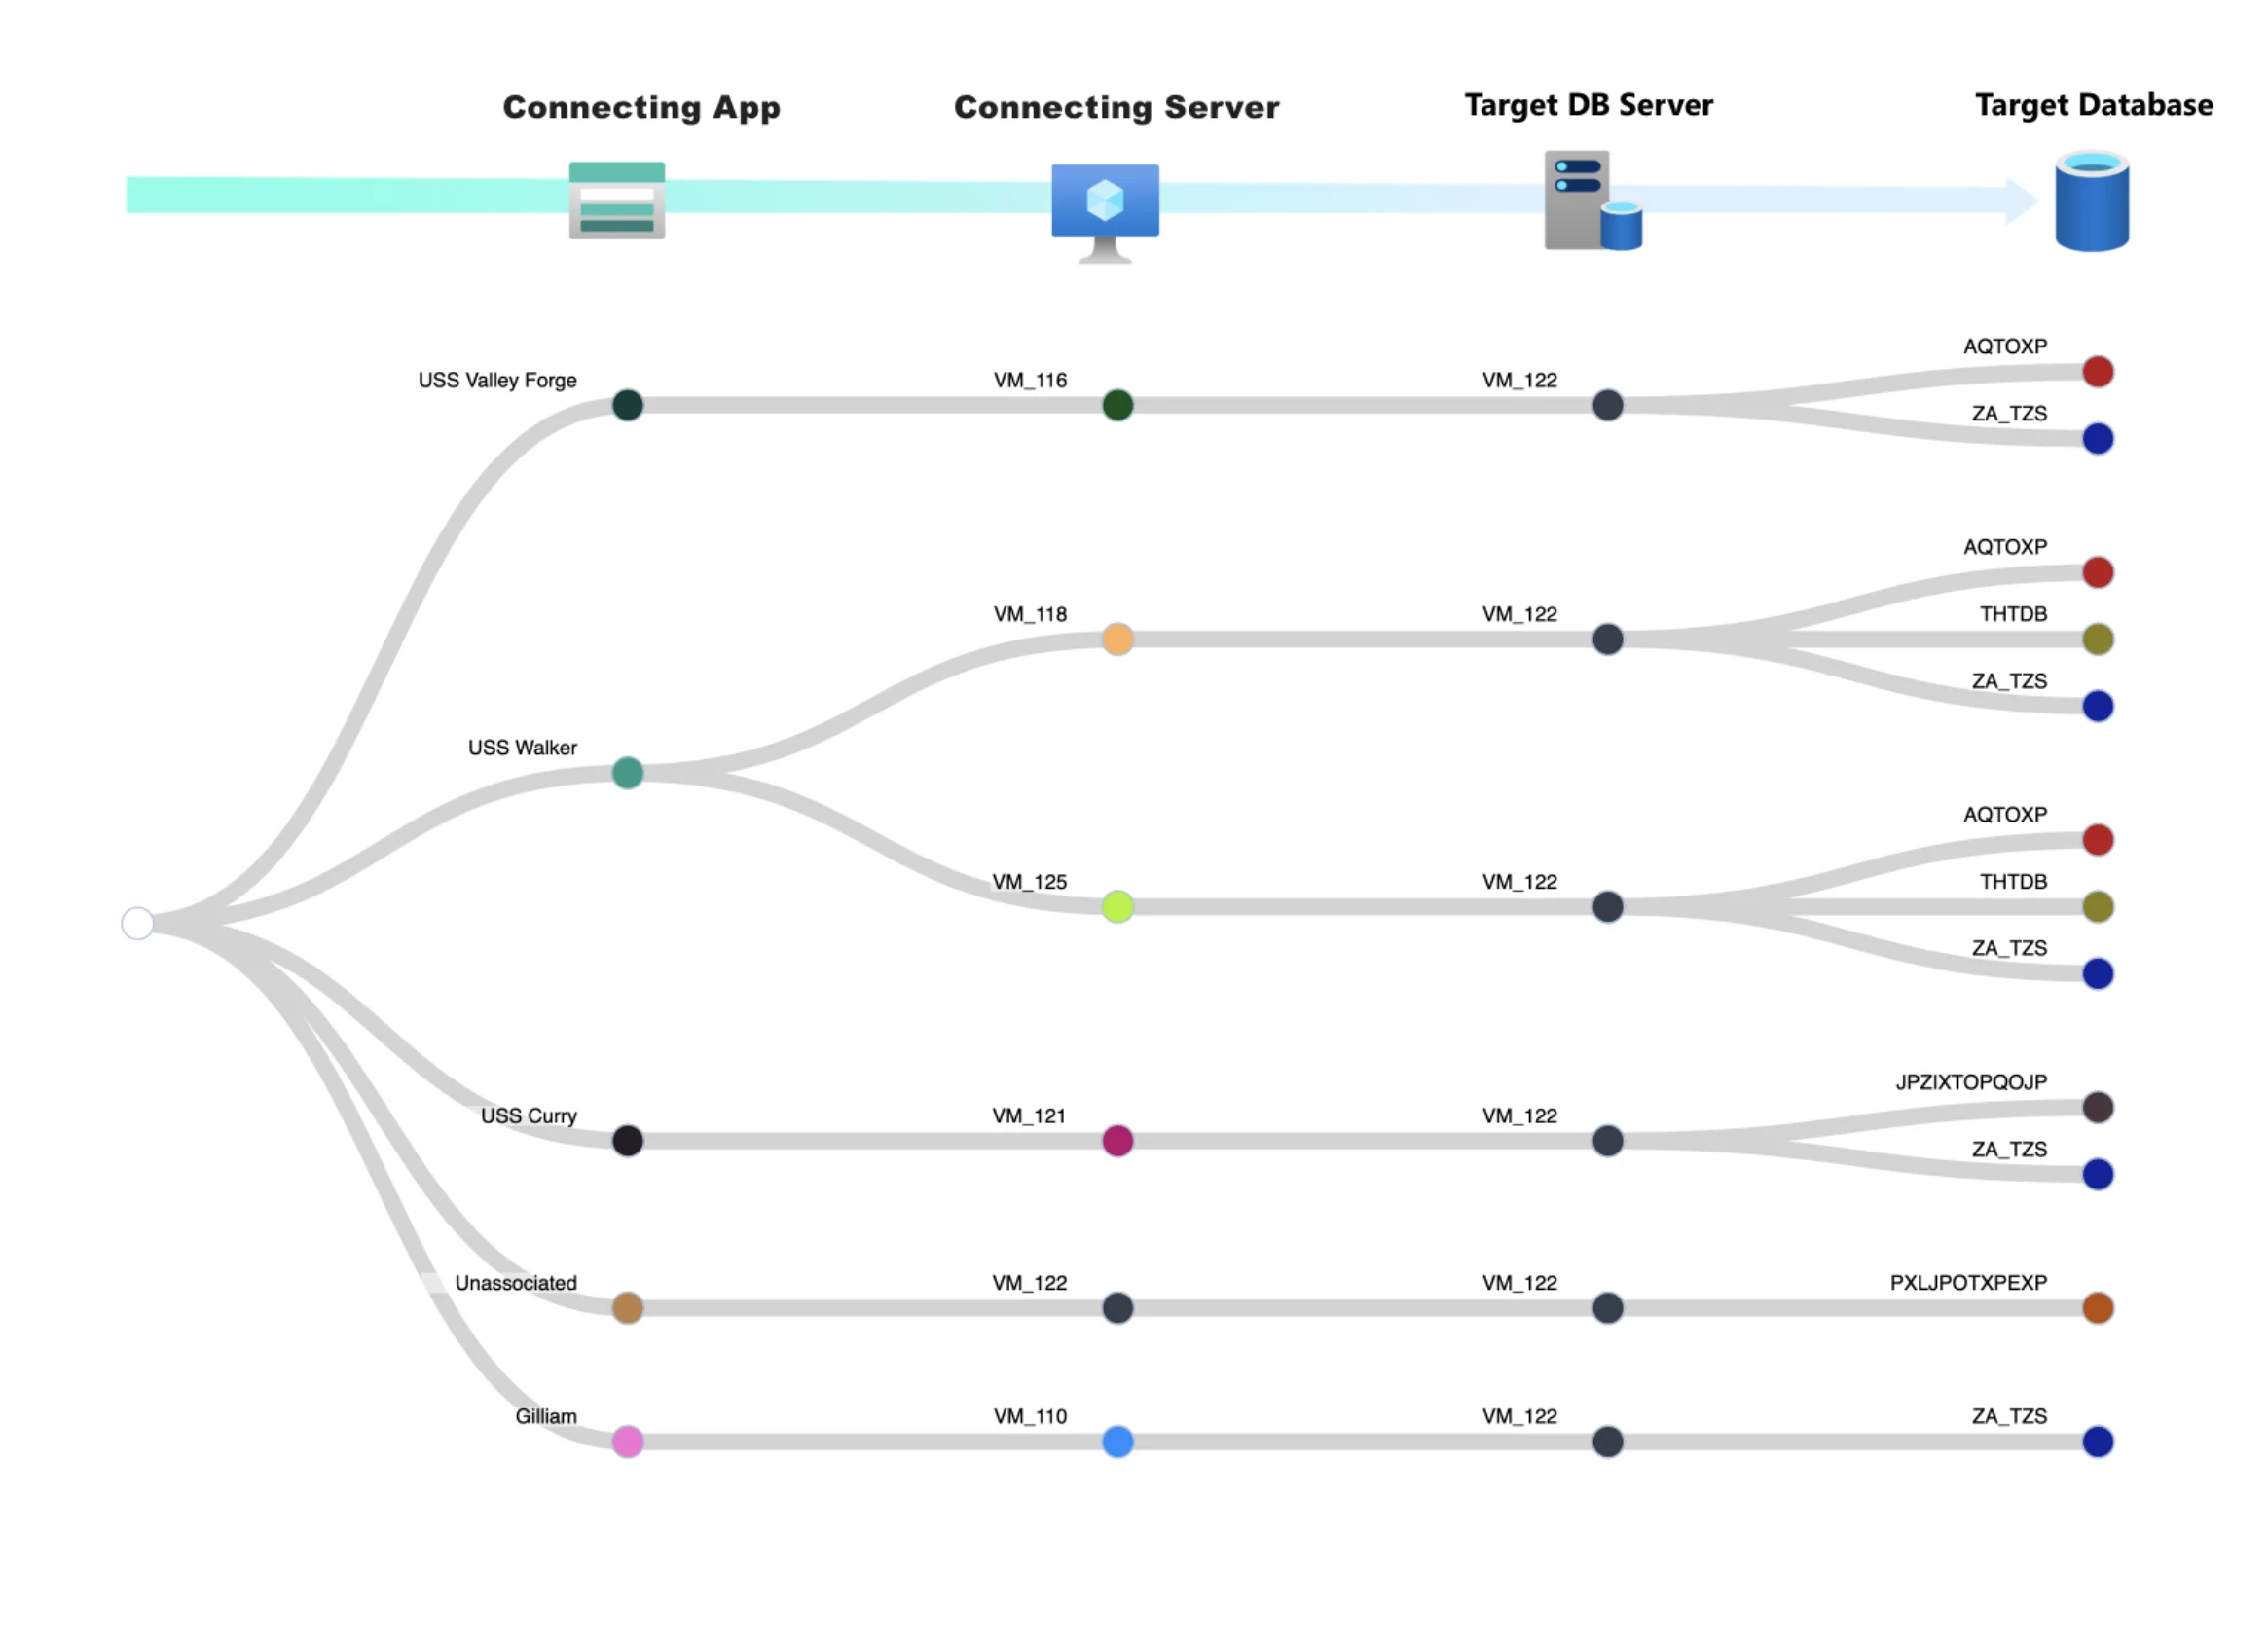
Advanced SQL Analytics
The SQL Advanced Analytics Script allows Dr Migrate to retrieve database-level dependency information for SQL Servers. This information allows you to understand the relationship between business applications and databases within your environment.
Collecting SQL Advanced Analytics
System Requirements
| Requirement | Details |
|---|---|
| PowerShell Module | Microsoft SqlServer PowerShell module must be installed on an On-Premises server. It is recommended to use the server being used for Azure Migrate discovery. The module can be downloaded here |
| Minimum PowerShell Version | Version 5 |
| PowerShell Script Execution Requirement | The provided PowerShell script must be run as an administrator. |
Required Permissions
In order to be able to successfully run the The SQL Advanced Analytics, the following permissions must be in place
| Role | Scope |
|---|---|
| SQL Server Administrator (SysAdmin) | SQL Servers you want to collect data from. |
Download SQL Advanced Analytics
Importing of SQL Advanced Analytics is available inside the Advanced Mode only.
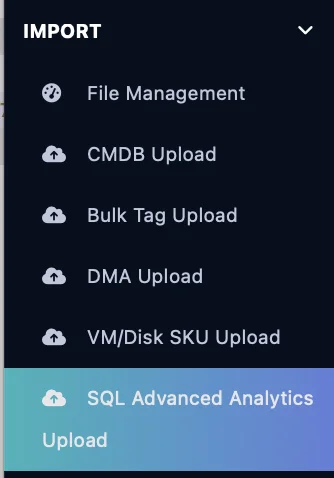
From the left-hand side menu, select SQL Advanced Analytics Upload
You can download the SQL Advanced Analytics Script from the next screen. This will download a Zip file.
Populate Severlist.csv
Severlist.csv is used to denote the SQL Servers that you wish to collect advanced analytics from. In the template you will need to fill out the following:
- Servername – Name of SQL Server
- Instance – Target SQL Server Instance Name
- Port – SQL Server connection port
| servername | Instance | Port |
|---|---|---|
| ServerName | InstanceName | Port |
Once completed, save this file.
Run SQL Advanced Analytics Script
Log into the server that you want to run the analytics script from, it is recommended this is the server you have Azure Migrate installed on. The script can be executed on a remote server if it has a direct network line of sight to the target SQL server.
Open Powershell and execute the Get-Lab3DatabaseConnections.ps1 script as an administrator.
Using Windows Authentication
Enter the following Script in PowerShell
.\Get-Lab3DatabaseConnections.ps1 -ServerListCsv .\Severlist.csv -Authentication Windows -DataCollectionTimeSpan 86400 -Interval 3600This will collect data for 1 day, every 10 minutes, using Windows Authentication, to connect to each SQL Server as defined in Severlist.csv.
Using SQL Authentication
Enter the following Script in PowerShell
.\Get-Lab3DatabaseConnections.ps1 -ServerListCsv .\Severlist.csv -Authentication Sql -SqlUsername <username> -SqlPassword (ConvertTo-SecureString -String <password> -AsPlainText) -DataCollectionTimeSpan 3600 -Interval 1800This will collect data for 1 day, every 10 minutes, using SQL Authentication, to connect to each SQL Server as defined in Severlist.csv.
By default, the script is scheduled to run for 1 day, every 10 minutes.
You can edit the duration of the script by changing the DataCollectionTimeSpan and the Interval section of the execution command.
DataCollectionTimeSpan means how many days does the customer want to run the script
Interval refers to how often in the days do the customer wants to run the scripts.
For example:
.\Get-Lab3DatabaseConnections.ps1 -ServerListCsv .\Severlist.csv -Authentication Windows -DataCollectionTimeSpan 172800 -Interval 600These times will need to be in seconds, for example: 2 Day = 172800 sec / 10 mins = 600 secs.
The longer you run the script, the more information it will collect about your On-Premises SQL Server estate.
Import SQL Advanced Analytics
Transfer the collected Analytics data to the Dr Migrate instance, this can be done using the File Management function.
From the SQL Advanced Analytics Upload Menu, select the outputted zip file from the SQL Advanced Analytics Script. Once selected, click submit to upload the file, and begin processing.