Uploading and Viewing Results
Once you’ve completed a scan using DMC (Dr Migrate Collector), the next step is to securely upload your results and begin exploring your environment insights in Dr Migrate.
Connect to Your Dr Migrate Instance
Each customer is provisioned with their own dedicated, secure Dr Migrate instance.
For steps to logging on see here Logging On

Once you are logged in, you will see your deployment. If the VM is not started, please click Start.
ℹ️
This will take 1-3 minutes. Once the VM is started, you will be automatically re-directed to the SaaS UI.

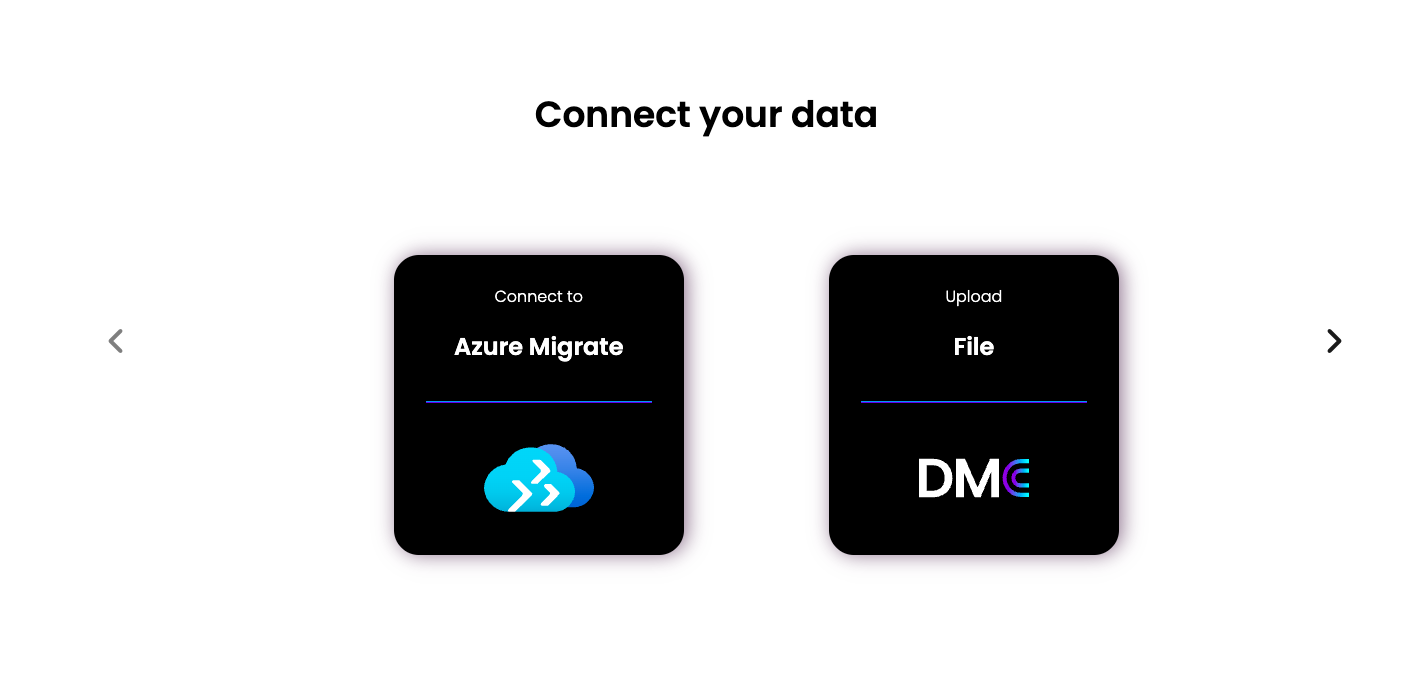
Choose DMC Data Collection Source
Select DMC as your Data Collection Source
Upload Encrypted Results File
DMC produces a compressed and encrypted results file at the end of the scan.
Select your DMC output (dmc_output.zip) from your Jumpbox

Enter your Dr Migrate import decryption key that was generated when you completed your DMC session.
Click Upload
⚠️
If you have lost, or forget your decryption key, you will need to start a new DMC session.
Automatic Data Processing
Once uploaded:
- Dr Migrate decrypts and ingests the scan data
- Key environment metrics are parsed and transformed into insights-ready structures
- This automated process typically takes 1 - 4 hours depending on environment size
Explore Your Insights
Once processing completes, you can immediately:
- View environment summaries including VM sizing, software inventory, and utilization metrics
- See curated proposals identifying modernization opportunities
- Launch into the migration planning workflow, including:
- Workload grouping and wave planning
- Azure SKU right-sizing recommendations
- Total Cost of Ownership (TCO) analysis
ℹ️
View the Dr Migrate user guide for a detailed walkthrough here
⚠️
Contact our support team at support@altra.cloud for assistance.